Archive for the ‘Matthew’ Category
Vacation!
July 21st, 2009 Posted 8:22 am
So I have been fairly delinquent with posting lately. Aside from the recipe for the Lettuce wraps and eggrolls that I just posted (which I actually wrote last week, but for some reason never actually put up?), it has been busy and relaxed all at the same time, and it has left me with very little push to blog. We just got back from a mini-vacation to Packwood (just south of Mt. Rainier National Park), and I thought I’d share some pictures! We had a great time just relaxing with Santana, goofing off and enjoying the gorgeous weather and scenery. You’ll notice that just like when we’re at home, laughing at Santana is one of our favorite things and we spend a good amount of time just taking pictures of her being hilarious.
As we packed up, we managed to take more stuff than we would have needed for three weeks away. It filled up our entire trunk! Santana helped, of course and then got impatient in the car, waiting for us to join her….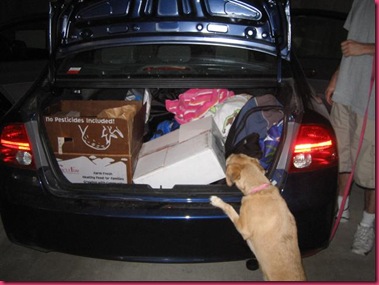

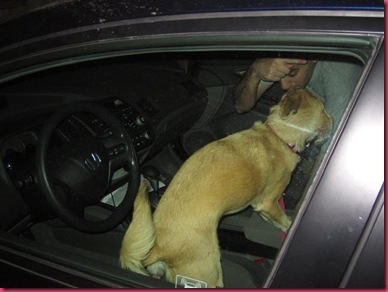
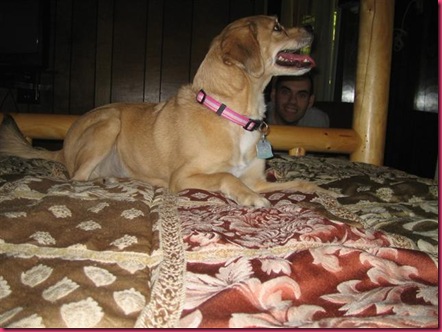
It was a long long drive, and Santana was exhausted when we got there. In fact, she slurped down an entire bowl of water in about 60 seconds….and then threw it all up on the floor. Great start to the weekend! Here are some pictures of Santana (and Matt!) checking out the giant king-size bed in our room.
We got ready to go swimming and I took advantage of this time to snap a picture of Matt’s short hair….I cut it myself! We decided $25 spent on a hair trimming kit for guys would quickly make us glad he wasn’t spending 10-15 dollars every time he wants his hair cut.
Dinner on our first night (well….and our second) was a complete splurge. We were on vacation! Just up the street in the tiny town of Packwood there was one pizza place. Since we’ve been out here together, there are only 2 or 3 pizza places we’ve ever visited more than once. We usually try a new place every time! Nothing beats NY pizza, but we’ve found a couple that come close. This one had OK crust and sauce, but the cheese was SO stringy and delicious! We also go breadsticks, which was a great choice since they were AMAZING! Despite our best vacation efforts, we didn’t finish all of this food in one sitting. 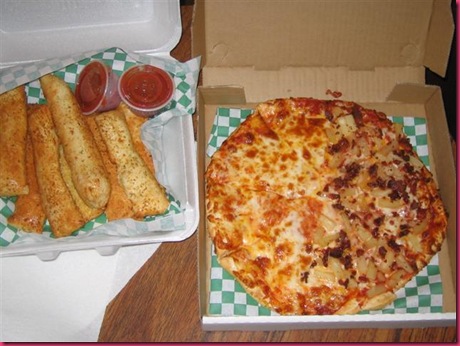
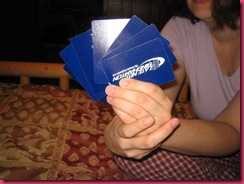
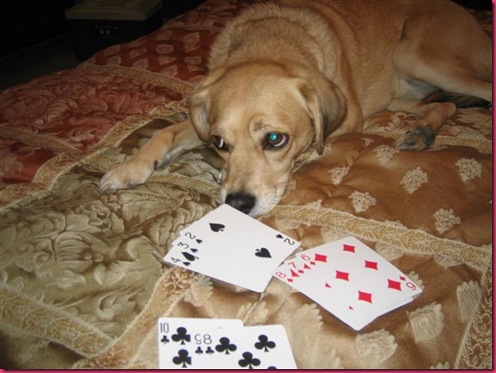
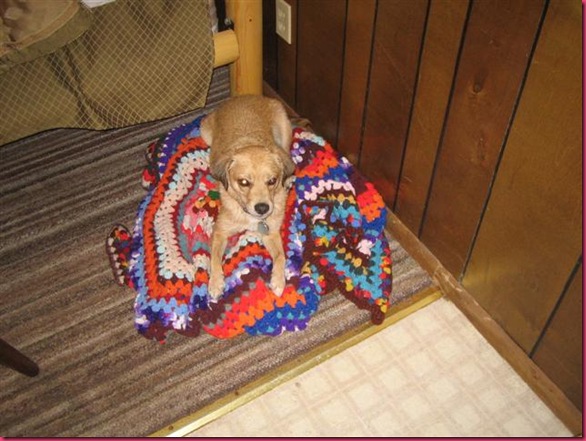
We agreed to NO TV for the trip, even though there was one in the room. We also didn’t bring our laptops despite free Wi-Fi at the lodge. This meant lots of reading, talking and cards! Matt reminded me how to play Rummy 500 and Santana watched while we played!
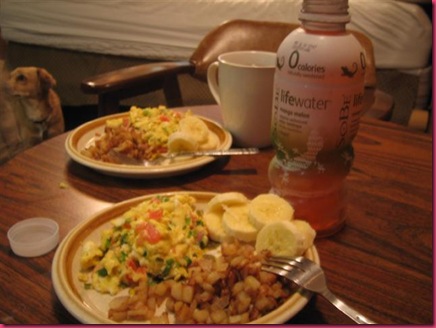
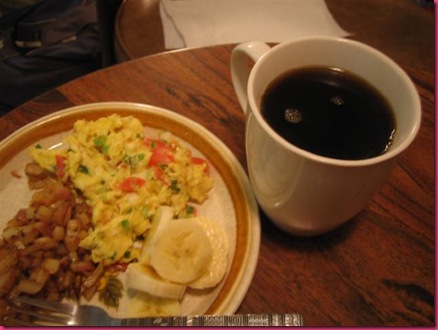
For breakfast the next day I made red potato mini hash browns with onion and random seasonings. Plus a red scallion and tomato scramble. We split a banana and I had a Sobe Lifewater (I am addicted to these) and Matt made some black black black coffee. Yum!! (Sunday I turned similar ingredients into a breakfast sloppy joe of sorts, with some ground beef we had planned to use for burgers and some cheese we had brought along. It was…interesting.)
We planned a hike to Sand Lake for Saturday morning. It was supposed to be ridiculously hot and we thought it would be a nice swim at the end of the hike. Little did we know, we picked the trail where all of the mosquitoes in Washington live. I think I’ve found up to 40 bug bites on my arms and legs since coming home. We made it about halfway through the hike (covered in bug spray) and then decided we’d rather just relax. We got Santana some water at the trailhead and then headed back to the lodge, stopping at a scenic viewpoint on the way. Since dogs are not allowed in Rainier National Park, we stayed just south of there. But you can see the mountain peeking out all over the place. Gorgeous!
We were all a bit squinty facing the sun, but I remembered my sunglasses!
We also got a couple with all three of us, but Santana couldn’t keep her eyes off the mountain!

After our dusty, muddy, buggy hike, Santana got a mini-bath and wasn’t very happy about it.
She did, however, find my sunglasses on the bed at some point, and we decided they would be cute on her. It’s clear that we had too much time on our hands!
The pup was beat, and so were we. We crashed pretty early on Saturday night, slept in on Sunday and drove home with a couple mini stops along the way. Sunday was a really lazy day of running a couple errands before the workweek started back up and we were in bed early early early.
Hopefully I’ll be back to regular posting over the next couple weeks…and then we have some really fun summer visitors here for most of August, so I’ll probably be missing for a while again! I hope everyone is having a great summer! We miss vacation!!
Ground Turkey Lettuce Wraps & Egg Rolls
July 21st, 2009 Posted 7:58 am
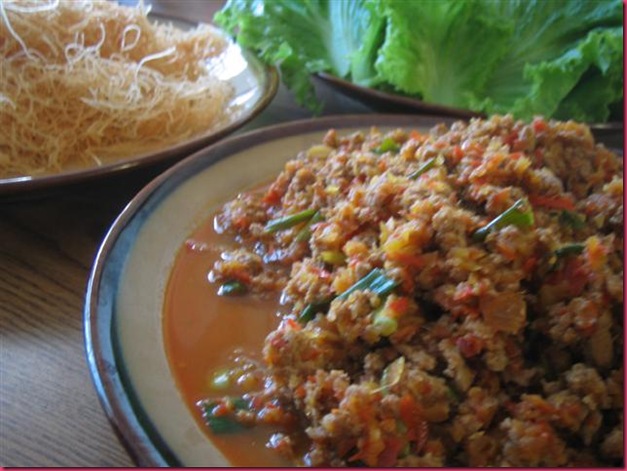
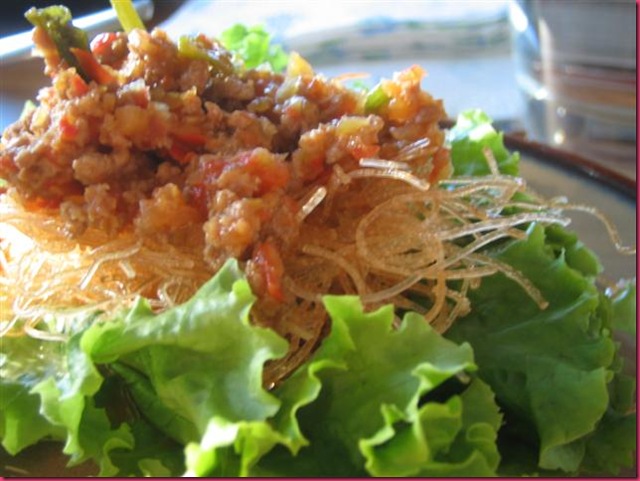
When our CSA gave us two heads of leafy green lettuce instead of the one we were expecting, I was wracking my head for something other than another salad. Loosely based on the filling in this egg roll recipe and some suggestions from friends, I experimented with some lettuce wraps and ended up with a fun leftover treat!
Spicy Turkey Lettuce Wraps
I don’t remember exactly what went in here, but there was definitely the following:
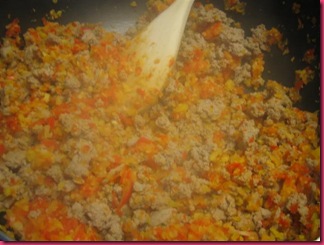
- 1 pound ground turkey, browned and drained
- finely finely minced onions, carrots, red pepper, ginger
- a variety of spices, including red pepper, black pepper, and some other random add-ins
- 1 bunch sliced scallions
- 3/4 cup soy sauce
- 6-8 tb. rice vinegar
- 2-3 tb. sesame oil
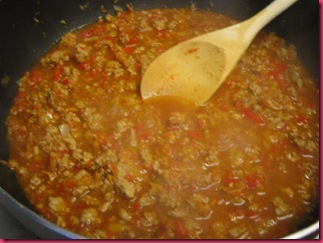
- I may have added some veggie broth to give it some more liquid while it cooked and cooked and cooked down
Basically, everything just cooked together for a long long time. It smelled amazing and it turned out a bit too salty for Matt. But wrapped together with some crispy mei fun noodles in big pieces of fresh lettuce, it was a wonderful and fun (and messy!) meal!
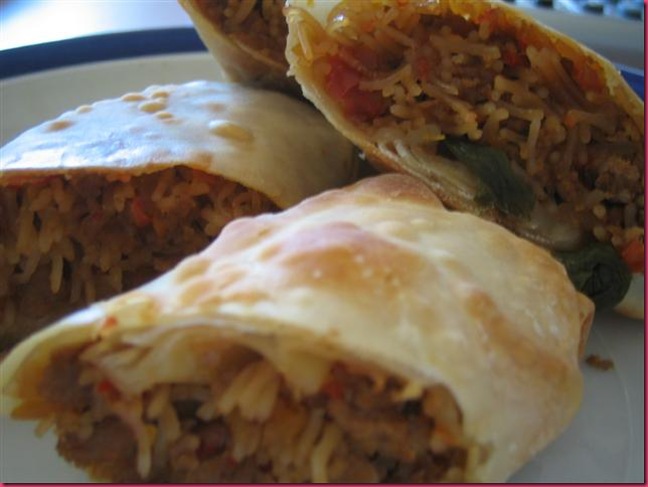
Since there was obviously no way we were going to eat an entire pound of ground turkey ourselves, the leftover meat went into a pyrex dish with the crispy noodles, which soaked up the yummy juices and the whole thing became a really wonderful filling for baked egg rolls! With a package of egg roll wrappers, I made about 16 egg rolls that went into the freezer for later!
While enjoying a lazy day on the couch and craving a snack one afternoon, Matt and I tried a couple to hold us over until dinner. Yum! With Matt’s honey soy sauce that he makes every time we make dumplings, they were spectacular. We had them again the other night with some orange chicken from the freezer (not homemade at all!), and the flavors of the two dishes didn’t really work together, but the filling in the egg rolls is just the right texture and full of spice and pretty unique kick. It could use some cabbage, but we just didn’t have any when I made them.
I was extremely happy when I had all my egg rolls lined up on a baking sheet to freeze…I love love love using leftovers like this!
Summer!!
July 11th, 2009 Posted 7:46 am
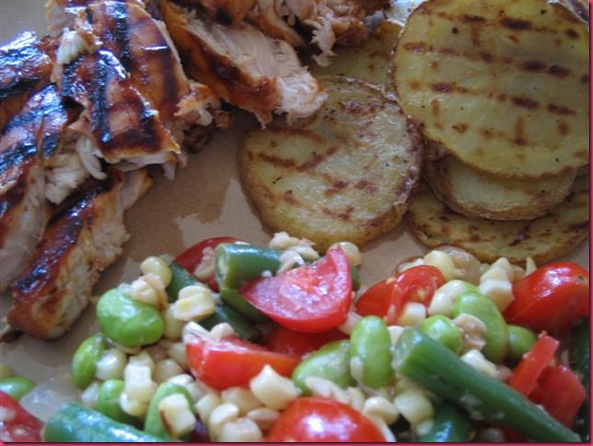
I have been wildly delinquent in posting because we have been enjoying lots of sunshine and just generally staying pretty busy. I have a few really yummy recipes to post. Today, just a couple quickies. For 4th of July lunch, we grilled up some bbq chicken on our stovetop grill pan and got some wonderful char marks! 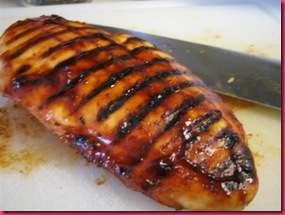
We had this with thin-sliced grilled potatoes and grilled corn succotash. The succotash was really simple and delicious with our chicken and potatoes. I wasn’t a huge fan of the leftovers, but I made a ton of it, so I ate it a couple more times for lunch and snack.
Grilled Corn and Edamame Succotash
- 4 ears shucked corn
- 1 cup frozen edamame
- 2 cups green beans, washed and trimmed
- 1 cup chopped onion
- 1 clove minced garlic
- 1.5 Tb butter
- 1 cup cherry tomatoes
- 1.5 Tb lemon juice
- 1 Tb balsamic vinegar
- Salt & Vinegar
- Grill corn for about 10 minutes, turning often to get lots of grill marks all the way around.
- Boil 4 cups water and cook edamame and beans for about 3 minutes to par cook.
- Drain and rinse with cold water to stop the cooking process.
- Melt butter in a pan and sauté onion and garlic until lightly brown.
- Add the corn and cook for a couple minutes. Add bean/edamame mixture and cook for another couple minutes.
- Remove from the pan to a large bowl and add tomatoes, lemon juice, balsamic, salt and pepper.
Super easy and really fresh!
Matt and I don’t eat a lot of fresh fruit as snacks, so when our CSA box comes with new fruits that we’re not used to eating out of hand, I try to come up with somewhat healthy ways to use them and get as much fruit into our diet as possible.
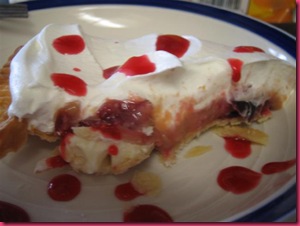
This past week I made another pie. The last pie I made was a bit fancier, much prettier, and probably quite a bit healthier. This pie, however, was amazingly wonderful and we finished it by Thursday night. I didn’t get many pictures of the actual pie-making process, and the slice of pie that I have a picture of is a mushy mess, but this is what made it so delicious.
Cherry Pluot Custard Pie Heaven
- 1 pie crust (Pillsbury for this one)
- 1 box Jell-O Pudding custard mix (I should have used two…it was a pretty thin layer of custard. And the next time I make a pie like this, my plan is to actually make the custard.)
- ~1 cup fresh cherries, pitted and cut in quarters (I never liked fresh cherries when I was growing up, but now that I’m in Seattle, I’m finding that fresh cherries in Washington—which they offer up as samples while you walk around farmer’s markets—are a really wonderful summer snack)
- 4 pluots, peeled, pitted and chopped
- Cool whip galore
- Prepare custard according to directions for thick pie filling.
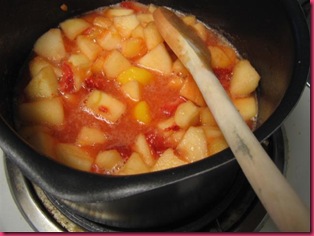
- Cook fruit over medium heat until it gets nice and juicy and wonderful. I added a tiny bit of sugar to the mix.
- Line pie plate with pie and blind bake until it is nice and brown. You’ll notice in one of my pictures there is a big glob of white chocolate in one slice of pie…this is where I poked a hole in the baked crust. I mended it with white chocolate chips melted into the space to prevent the custard filling from oozing out. Matt did not object to a giant piece of white chocolate with his pie.
- After the fruit has cooked down quite a bit, strain mostly solid parts from the liquid sweetness. Save this! (I drizzled a bit over our first piece of pie, and the rest I shook up with some limeade for a sweet summer drink)
- Mix the strained solids with the prepared custard (after it has rested like the package says).
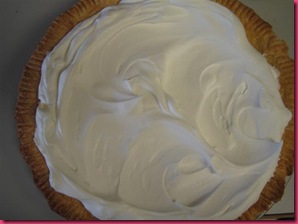
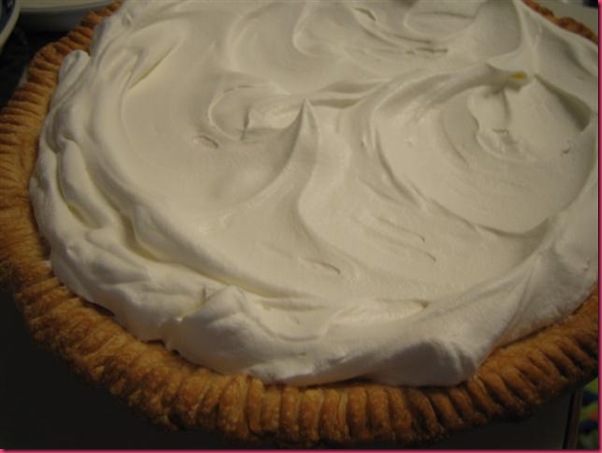
- Spread the custard mix evenly in the pie crust and top with cool whip.
Is there any question that this was delicious??? The tangy tart bite of the fruit mixed spectacularly with the thick rich custard, and a giant serving of whipped cream never made anything worse. So satisfying!
Fruit Jumble Pie
June 28th, 2009 Posted 9:40 am
Ok, I’m still way behind…this weekend was not so much about catching up as I thought. Oh well. I have been telling Dori I would post pictures of this pie I made for over a week now, so here it is!
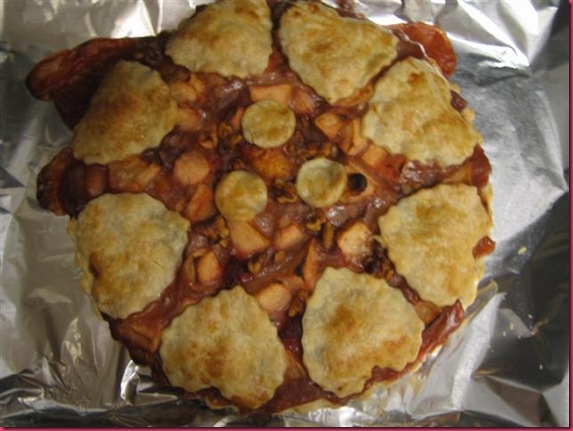
I started with a recipe from my Better Homes and Gardens cookbook, which I love because it has just about anything you can think of with lots of basic info to help you get started. I usually use it to get a sense for how long something should be cooked or what kinds of flavors go into some type of traditional sauce or something along those lines and then go from there. For this pie, I was looking for a way to use up a giant pile of fresh fruit that was too ripe for us to eat straight up and that I didn’t want to go bad. BH&G had a recipe for a Harvest Fruit Tart that used apples and a bunch of dried fruits that you reconstituted in some apple juice before mixing with nuts and baking in a tart with a lattice top.
I used my fresh fruit, used the apple juice to make a gooey gooey sauce, and was too lazy to even attempt lattice-work.
Fruit Jumble Pie
- 4 apples, peeled, cored and chopped
- 3 peaches, peeled and chopped
- 4 plums, peeled and chopped
- About 1 cup strawberries, chopped
- 1/4 – 1/2 cup apple juice
- 1 cup rough chopped walnuts
- 1/3 cup packed brown sugar
- 1/4 cup all purpose flour
- 1/4 tsp ground nutmeg
- 2 pie crusts (I used whole foods frozen crusts already in tins. To make the top, I let one defrost and took it out of the tin)
- Preheat oven to 375 degrees.
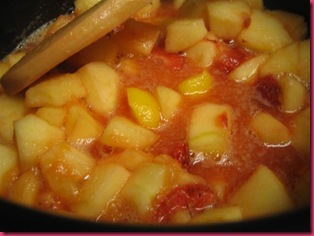
- Combine chopped fruit and apple juice in saucepan over medium-high heat and cook until it gets thick and syrupy.
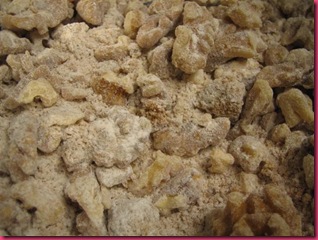
- While it cooks, mix nuts, brown sugar, flour and nutmeg in a large bowl.
- Add the fruit mixture to the bowl and mix until everything is combined. This will look really beautifully gooey and sticky and amazing.
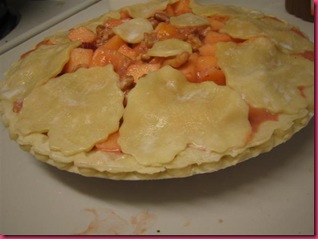
- Fill the pie shell. I had WAY too much filling and fit in as much of the fruit as I could. You’ll see below this was a tiny bit disastrous.
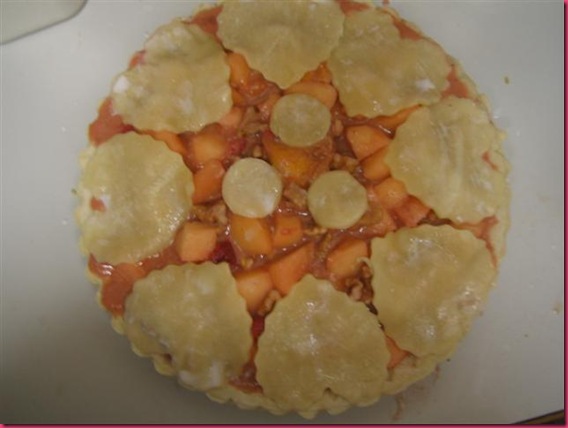
- Top with top crust in a fancy lattice or whatever way you see fit. I used one of my valentine’s cookie cutters to make crimp-edged hearts (8 of them! one for each slice of pie!) that went around the edge. This was mostly successful.
- Brush top pie crust with a bit of milk and sprinkle with granulated sugar.
- Bake for about 45 minutes. You want the crust to be brown and the filling inside to be nice and bubbly. If the middle of the filling isn’t bubbling, your pie will probably not thicken up nicely as it cools, so make sure you get to the bubbly filling stage!
- Remove from the oven….mine had a little bit of an overflow and one of the hearts slide off the pie and onto the baking sheet (always bake your pies on a baking sheet!) so I had to rearrange that after cooking.
- Cool on a wire rack. My book says fruit pies can stay out overnight or for up to 24 hours. I left it on the counter overnight and then covered it and tossed it in the fridge the next morning.
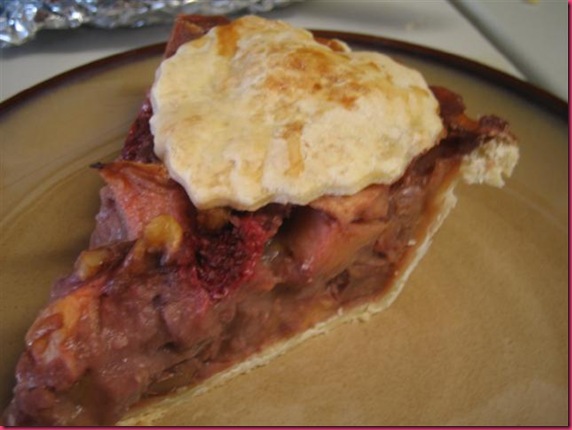
I ate a slice one day after work, straight from the fridge by itself. It was alright…a bit too tart for me. From that point on we heated up slices and served with vanilla ice cream…HEAVEN! I love warm pie crust and fruit filling with cool vanilla ice cream. Really really satisfying. I’m not sure I liked the walnuts in the pie….sometimes I liked them better than others, but Matt really enjoyed them every time we ate the pie. It only took us a week to get through the whole thing and now I’m sad that it’s gone 🙁
Green Dinner
June 18th, 2009 Posted 8:18 pm
Matt and I are getting excited with our summer plans! The closest thing coming up for us is a weekend trip to Packwood, WA to spend the weekend with Santana in a little cabin-type lodgey thing, do some hiking, and visit Olympia on our way home. SO excited for this. I want to make some fun meals there on the stovetop in the place we’re staying, so my mind is racing with easy to transport ingredients that can be made into yummy meals. Any suggestions??
To use some spinach and broccoli from our CSA box this week, we went super green for Wednesday’s dinner. It was a pretty heavy dinner, but we both went pretty light on lunch this week, so I’m ok with that.
Spinach Alfredo
- 8oz fettuccini
- 1 Tb butter
- 1 cup half and half
- Salt & Pepper to taste
- 1 bunch spinach, washed and roughly chopped
- Grated Parmesan
- Cook pasta according to package directions (Fettuccini takes about 10-12 min)
- While the pasta cooks, melt butter over medium-high heat and add half and half. Let this cook for a few minutes until it starts to thicken a little.
- Season with S&P and add Spinach to cook down for about 1 minute.
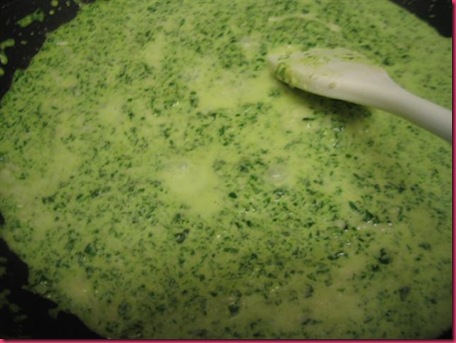
- Blend! We used our stick blender, but you could use a regular blender, or you could leave it rough chopped.
- Cook down for a few more minutes.
- Add cheese! (I admit, I went WAY overboard with the cheese, so our sauce was crazy thick)
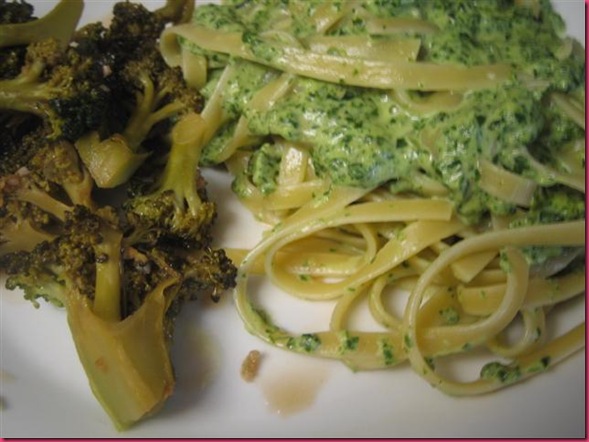
That’s it! Super easy! It wasn’t the prettiest thing I’ve ever made, but it was really really easy and super tasty. We had a french baguette that I sliced a couple pieces from. Toasted them, rubbed with a clove of garlic, added a tiny bit of pepper and a sprinkle of parm (this was before I overdid it on the sauce). The thick thick thick spinach alfredo was too thick for dipping, but it made an AMAZING spread on the toasty baguette. I had visions of tiny bites of toasted bread topped with my spinach alfredo spread for an appetizer…maybe with a bite of good fresh tomato sauce. Mmmm….
We served it with Broccoli Balsamico…a recipe that was basically steamed broccoli with a glaze made of balsamic vinegar, garlic, olive oil, grated ginger, brown sugar, salt and pepper. We made the sauce and then didn’t have the right amount of broccoli, so it got a little soggy/overcooked…but it was still yummy and I may try a similar mix in the future (I usually just go with garlic and balsamic for my broccoli). I have a huge problem getting broccoli to be as wonderfully cooked as some restaurants get it…especially when I want it lightly glazed with a sauce or something. The florets always get banged apart or overcooked…or some other tragedy comes to pass. It really makes me grumpy at the time, but I always eat it up….LOVE broccoli.

