Archive for June, 2009
Spectacular Speedy Simple Burritos
June 29th, 2009 Posted 4:52 pm
So I had a bit of success with our rice maker last week. We made a brown basmati rice that turned out a bit too mushy, but cooked through and not burnt–a definite improvement! The problem: I made WAY too much rice for what we needed (peanuty fried rice). Leftover cooked rice is difficult to use up…most recipes call for dry rice, and my fail-safe go-to method of using rice up is to make fried rice. This is not the best choice if the rice you have leftover is from the production of a GIGANTIC pan of fried rice.Â
We grabbed spinach tortillas and three canned goods. This was such a satisfying, easy and yummy dinner. So wonderful that we had it twice for dinner (and one other time with eggs for breakfast!).
Specatcular Speedy Simple Burritos
- 2 cups leftover cooked rice
- 1/2 yellow onion, chopped
- Cumin, salt, pepper, red pepper to taste
- 1 can black beans, mostly drained
- 1 can diced tomatoes with green chiles, half drained
- 1 can sweet corn, drained
- Spinach wraps
- shredded mexican cheese (we always have this on hand for some reason)
- Sauté onion in a tiny bit of olive oil until soft.
- Add rice and stir fry until heated through, adding seasoning to taste.
- Heat beans, tomatoes and corn in a small saucepan until bubbly.
- Add cheese, bean mixture and rice/onions to a tortilla.
- Roll and eat!
After we ate this the first time, I added the rice and the bean mixes together in one tupperware container. This made 6 different (very full) burritos, and there was at least 1 (maybe 2) more servings of the rice and beans left. Matt loved it! And looking at the pictures now makes me wish we had some more for tonight!
Fruit Jumble Pie
June 28th, 2009 Posted 9:40 am
Ok, I’m still way behind…this weekend was not so much about catching up as I thought. Oh well. I have been telling Dori I would post pictures of this pie I made for over a week now, so here it is!
I started with a recipe from my Better Homes and Gardens cookbook, which I love because it has just about anything you can think of with lots of basic info to help you get started. I usually use it to get a sense for how long something should be cooked or what kinds of flavors go into some type of traditional sauce or something along those lines and then go from there. For this pie, I was looking for a way to use up a giant pile of fresh fruit that was too ripe for us to eat straight up and that I didn’t want to go bad. BH&G had a recipe for a Harvest Fruit Tart that used apples and a bunch of dried fruits that you reconstituted in some apple juice before mixing with nuts and baking in a tart with a lattice top.
I used my fresh fruit, used the apple juice to make a gooey gooey sauce, and was too lazy to even attempt lattice-work.
Fruit Jumble Pie
- 4 apples, peeled, cored and chopped
- 3 peaches, peeled and chopped
- 4 plums, peeled and chopped
- About 1 cup strawberries, chopped
- 1/4 – 1/2 cup apple juice
- 1 cup rough chopped walnuts
- 1/3 cup packed brown sugar
- 1/4 cup all purpose flour
- 1/4 tsp ground nutmeg
- 2 pie crusts (I used whole foods frozen crusts already in tins. To make the top, I let one defrost and took it out of the tin)
- Preheat oven to 375 degrees.
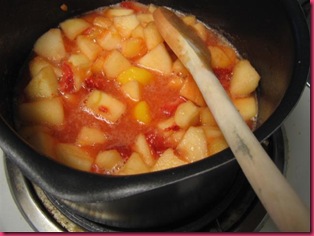
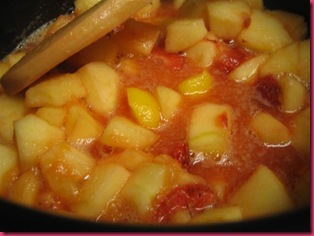
- Combine chopped fruit and apple juice in saucepan over medium-high heat and cook until it gets thick and syrupy.
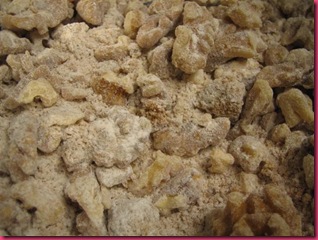
- While it cooks, mix nuts, brown sugar, flour and nutmeg in a large bowl.
- Add the fruit mixture to the bowl and mix until everything is combined. This will look really beautifully gooey and sticky and amazing.
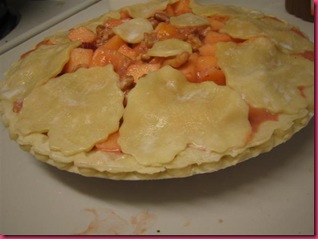
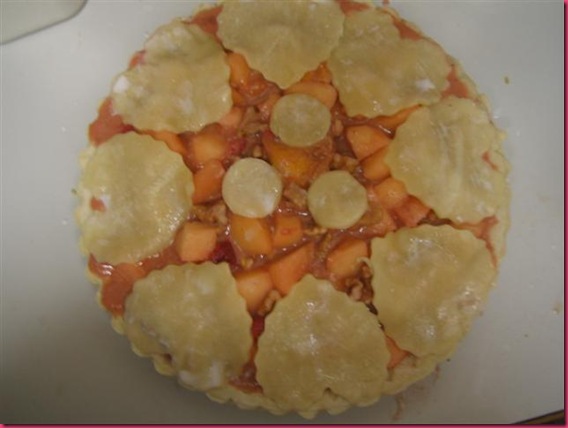
- Fill the pie shell. I had WAY too much filling and fit in as much of the fruit as I could. You’ll see below this was a tiny bit disastrous.
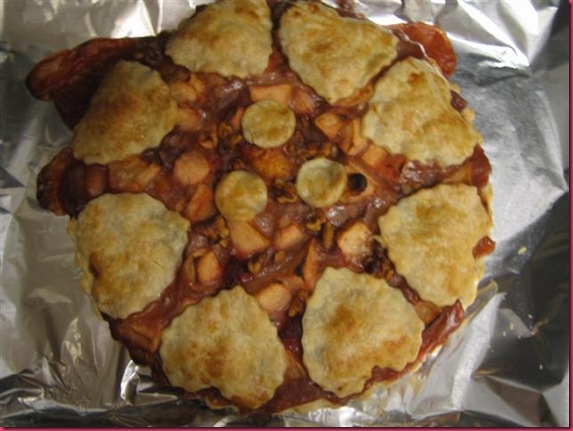
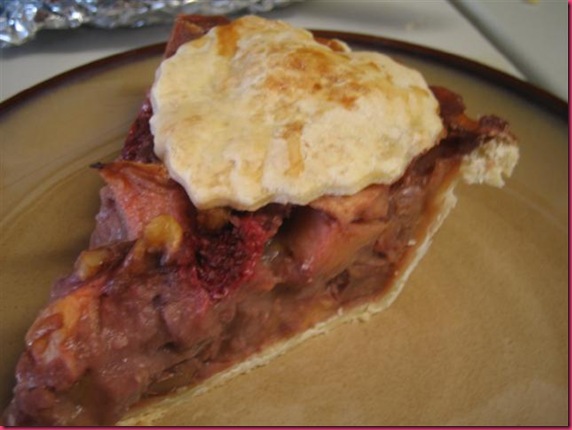
- Top with top crust in a fancy lattice or whatever way you see fit. I used one of my valentine’s cookie cutters to make crimp-edged hearts (8 of them! one for each slice of pie!) that went around the edge. This was mostly successful.
- Brush top pie crust with a bit of milk and sprinkle with granulated sugar.
- Bake for about 45 minutes. You want the crust to be brown and the filling inside to be nice and bubbly. If the middle of the filling isn’t bubbling, your pie will probably not thicken up nicely as it cools, so make sure you get to the bubbly filling stage!
- Remove from the oven….mine had a little bit of an overflow and one of the hearts slide off the pie and onto the baking sheet (always bake your pies on a baking sheet!) so I had to rearrange that after cooking.
- Cool on a wire rack. My book says fruit pies can stay out overnight or for up to 24 hours. I left it on the counter overnight and then covered it and tossed it in the fridge the next morning.
I ate a slice one day after work, straight from the fridge by itself. It was alright…a bit too tart for me. From that point on we heated up slices and served with vanilla ice cream…HEAVEN! I love warm pie crust and fruit filling with cool vanilla ice cream. Really really satisfying. I’m not sure I liked the walnuts in the pie….sometimes I liked them better than others, but Matt really enjoyed them every time we ate the pie. It only took us a week to get through the whole thing and now I’m sad that it’s gone 🙁
Comfort Food Guest Post from Mom
June 26th, 2009 Posted 7:22 am
I have more recipes and things to post, but haven’t gotten myself organized enough to find time for them. I am expecting a pile of editing work this weekend, so hopefully next week I’ll get back on track. Until then, here’s another one from my mom!! This is pretty much top secret information I’m about to share, so be grateful. My grandma makes something we have always called Easter Bread…it has very little to do with Easter for me, since I remember eating it all the time. She used to send it to me in college and one of my roommates and I would devour an entire loaf…it’s amazing. Super simple, but somehow you have to get it just right otherwise it won’t be the same. My mom has been working hard trying to get it to be as good as grandma’s, and she is pretty close…there’s just something about grandma food, right??
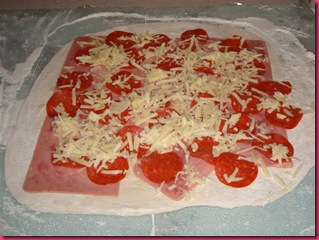
Anyway, here it is. Can you really go wrong with bread, cheese, pepperoni and ham?? Nope! I actually like it better when it is leftover in the fridge after a day or two (if it lasts that long). The bread is nice and chewy and soft and because it’s all rolled up, you get a bit of cheese, pepperoni and ham in each bite and it’s one of the most comforting snacks for me 🙂 Take it away mom!
Easter Bread à la Grandma, via Mom
Or as mom calls it: “For the girls that need to add a couple inches to the waistline.†Of course that’s not me and I really don’t know any. Never as good as hers but we keep trying cause it is so yummy.
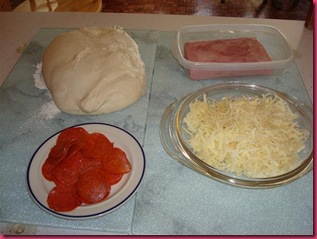
- Bread dough rolled thin (Mallory note: mom has a bread maker, which makes this part wonderfully easy…I have no bread maker and have not yet attempted to make this for that exact reason.)
- Ham, Pepperoni and cheese - sharp please
- Dad and I started adding some pizza seasoning too
- roll…seal with cold water
- 350 for 30 minutes…
| MISTAKES | HINTS |
| I love my cheese but too much will make it burst… | When some bursts out of the badly sealed edges - YOU get to eat it…. |
| forgetting the seasoning on the 2nd loaf | Great for me to take to work for breakfast |
| I can get flour all over the kitchen in 2 seconds.. | Wonderful heated slightly with some tomato or marinara sauce for dipping (Mallory note: AGREED!) |
Posted in Family, Guest Posts, Holidays, super-friends, Yum
Hybrid Falafel
June 24th, 2009 Posted 6:15 pm
How have I had no time to blog?? Things have not been particularly busy, but we’ve been doing a lot of running around and planning and even some relaxing! Plus, Santana has been a fussy fussy pup…not always wanting to eat her breakfast/dinner, sometimes giving us the pleasure of waking up to some hidden spots of vomit in the dining room and all around being a bit fussier than normal. We have a vet appointment in a couple weeks and hopefully things get all fixed up (if there’s anything wrong to fix). A quick recipe until I can catch up with some of my other back-logged meals!
Hybrid Falafel: the falafel of the future (said in a deep booming voice, of course)
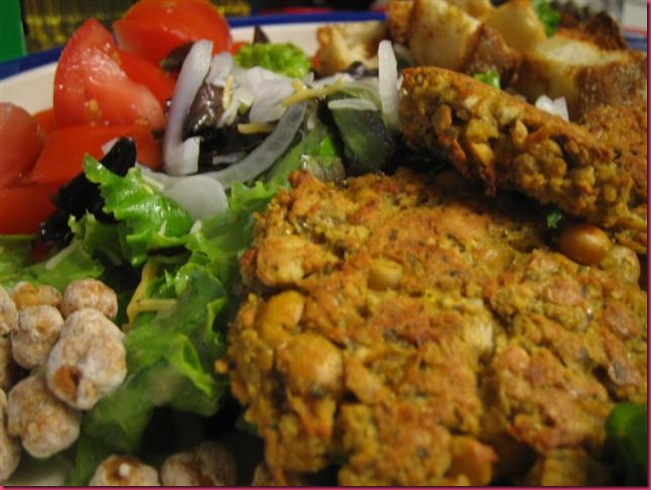
I have made falafel at home a few different ways. The first few times, we used a mix (on the left in the first picture below). All you do is add a bit of water to the dry mix, let it sit for ten minutes, form into balls and fry. It’s pretty tasty. The texture is not nearly as wonderful as freshly made falafel at some great Greek restaurant, but it was easy, fairly cheap, and the perfect amount for the two of us. A success.
The second attempt was a baked falafel from scratch, using bulgur and chickpeas and lots of yummy spices that made a really tasty (and much healthier/fresher) version of falafel. We used these for leftovers and even froze some for later. I thought they were a tiny dry and wanted to work on the texture.
This brought us to the hybrid falafel I concocted last week. They turned out really well, and I’ll probably stick with this method from here on out, with a few adjustments in spices and mix-ins.
- 1 package dry falafel mix
- 3/4 can chickpeas, drained
- 4 small carrots (ours were super small, 1 large would do the trick), shredded
- spices and seasoning to taste (I used a little cumin, garlic powder and onion powder in my mix, but could have used some fresh chopped or grated onion instead to bump up the moisture)
- Prepare falafel mix according to directions and let sit.
- While it is soaking, mash chickpeas and add other ingredients.
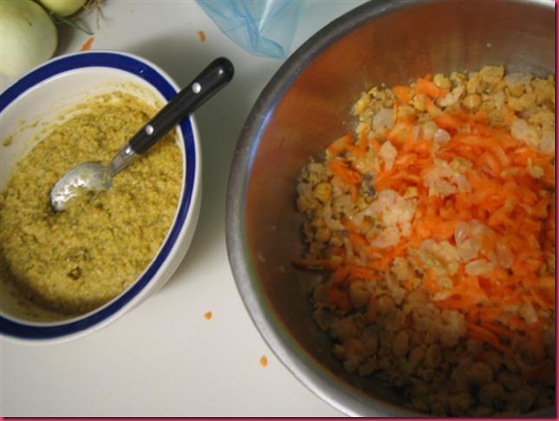
- Combine the two mixes into a really pretty, mushy mixture.
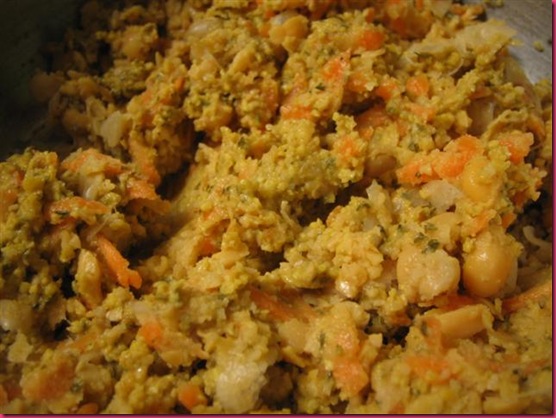
- Bake!!! I think we went with 425 degrees, 10 minutes per side.
We turned these falafel into a salad with some really wonderful tomatoes, some fresh croutons made from a french baguette that was getting stale, some chopped spring onion and some toasty crisped chickpeas (tossed with some spice and baked in the toaster oven for a while).
Green Dinner
June 18th, 2009 Posted 8:18 pm
Matt and I are getting excited with our summer plans! The closest thing coming up for us is a weekend trip to Packwood, WA to spend the weekend with Santana in a little cabin-type lodgey thing, do some hiking, and visit Olympia on our way home. SO excited for this. I want to make some fun meals there on the stovetop in the place we’re staying, so my mind is racing with easy to transport ingredients that can be made into yummy meals. Any suggestions??
To use some spinach and broccoli from our CSA box this week, we went super green for Wednesday’s dinner. It was a pretty heavy dinner, but we both went pretty light on lunch this week, so I’m ok with that.
Spinach Alfredo
- 8oz fettuccini
- 1 Tb butter
- 1 cup half and half
- Salt & Pepper to taste
- 1 bunch spinach, washed and roughly chopped
- Grated Parmesan
- Cook pasta according to package directions (Fettuccini takes about 10-12 min)
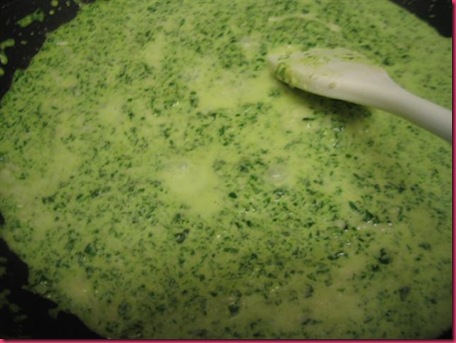
- While the pasta cooks, melt butter over medium-high heat and add half and half. Let this cook for a few minutes until it starts to thicken a little.
- Season with S&P and add Spinach to cook down for about 1 minute.
- Blend! We used our stick blender, but you could use a regular blender, or you could leave it rough chopped.
- Cook down for a few more minutes.
- Add cheese! (I admit, I went WAY overboard with the cheese, so our sauce was crazy thick)
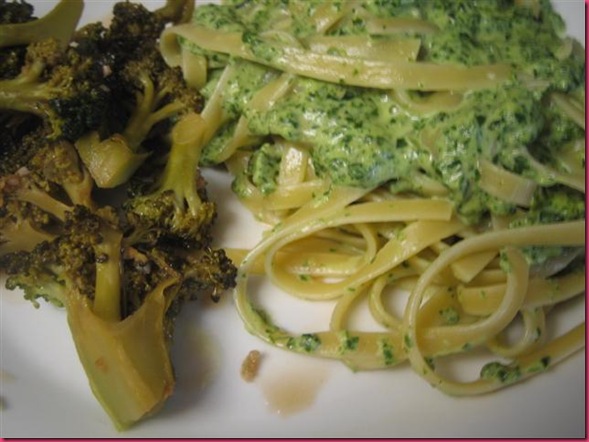
That’s it! Super easy! It wasn’t the prettiest thing I’ve ever made, but it was really really easy and super tasty. We had a french baguette that I sliced a couple pieces from. Toasted them, rubbed with a clove of garlic, added a tiny bit of pepper and a sprinkle of parm (this was before I overdid it on the sauce). The thick thick thick spinach alfredo was too thick for dipping, but it made an AMAZING spread on the toasty baguette. I had visions of tiny bites of toasted bread topped with my spinach alfredo spread for an appetizer…maybe with a bite of good fresh tomato sauce. Mmmm….
We served it with Broccoli Balsamico…a recipe that was basically steamed broccoli with a glaze made of balsamic vinegar, garlic, olive oil, grated ginger, brown sugar, salt and pepper. We made the sauce and then didn’t have the right amount of broccoli, so it got a little soggy/overcooked…but it was still yummy and I may try a similar mix in the future (I usually just go with garlic and balsamic for my broccoli). I have a huge problem getting broccoli to be as wonderfully cooked as some restaurants get it…especially when I want it lightly glazed with a sauce or something. The florets always get banged apart or overcooked…or some other tragedy comes to pass. It really makes me grumpy at the time, but I always eat it up….LOVE broccoli.

