Archive for the ‘Yum’ Category
Green Dinner
June 18th, 2009 Posted 8:18 pm
Matt and I are getting excited with our summer plans! The closest thing coming up for us is a weekend trip to Packwood, WA to spend the weekend with Santana in a little cabin-type lodgey thing, do some hiking, and visit Olympia on our way home. SO excited for this. I want to make some fun meals there on the stovetop in the place we’re staying, so my mind is racing with easy to transport ingredients that can be made into yummy meals. Any suggestions??
To use some spinach and broccoli from our CSA box this week, we went super green for Wednesday’s dinner. It was a pretty heavy dinner, but we both went pretty light on lunch this week, so I’m ok with that.
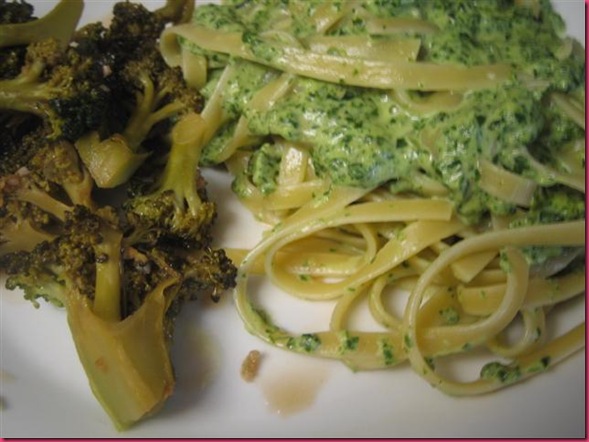
Spinach Alfredo
- 8oz fettuccini
- 1 Tb butter
- 1 cup half and half
- Salt & Pepper to taste
- 1 bunch spinach, washed and roughly chopped
- Grated Parmesan
- Cook pasta according to package directions (Fettuccini takes about 10-12 min)
- While the pasta cooks, melt butter over medium-high heat and add half and half. Let this cook for a few minutes until it starts to thicken a little.
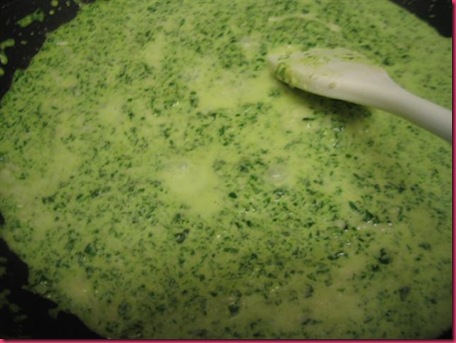
- Season with S&P and add Spinach to cook down for about 1 minute.
- Blend! We used our stick blender, but you could use a regular blender, or you could leave it rough chopped.
- Cook down for a few more minutes.
- Add cheese! (I admit, I went WAY overboard with the cheese, so our sauce was crazy thick)
That’s it! Super easy! It wasn’t the prettiest thing I’ve ever made, but it was really really easy and super tasty. We had a french baguette that I sliced a couple pieces from. Toasted them, rubbed with a clove of garlic, added a tiny bit of pepper and a sprinkle of parm (this was before I overdid it on the sauce). The thick thick thick spinach alfredo was too thick for dipping, but it made an AMAZING spread on the toasty baguette. I had visions of tiny bites of toasted bread topped with my spinach alfredo spread for an appetizer…maybe with a bite of good fresh tomato sauce. Mmmm….
We served it with Broccoli Balsamico…a recipe that was basically steamed broccoli with a glaze made of balsamic vinegar, garlic, olive oil, grated ginger, brown sugar, salt and pepper. We made the sauce and then didn’t have the right amount of broccoli, so it got a little soggy/overcooked…but it was still yummy and I may try a similar mix in the future (I usually just go with garlic and balsamic for my broccoli). I have a huge problem getting broccoli to be as wonderfully cooked as some restaurants get it…especially when I want it lightly glazed with a sauce or something. The florets always get banged apart or overcooked…or some other tragedy comes to pass. It really makes me grumpy at the time, but I always eat it up….LOVE broccoli.
Sunday Gritty Sundae
June 15th, 2009 Posted 8:39 pm
Saturday we ate out…for every. single. meal. It was delicious all around, but we didn’t feel so hot afterwards. Sunday we vowed to do some good eating in. And we did! For dinner, we had leftover tortilla soup…this stuff was even better the second time around (largely because I could now taste it) and we both had giant bowls. Plus we froze two double-servings for later. Because I got the giant pack of chicken thighs on sale for just over $5, this was a super economical creation as well! Hooray!
For breakfast, we had some old-ish apples and I remembered we had quick cooking grits in the cupboard. Easy easy breakfast to the rescue:
Cinnamon Apple Grits Breakfast Sundae
- 2 servings grits
- 5-6 small apples, peeled, cored and chopped
- 1/4 cup apple juice or cider
- 2 Tb sugar
- 1 tsp cinnamon
- Combine apples, juice, sugar and cinnamon over medium heat in a small saucepan, stirring to coat.
- Cook away, stirring frequently to avoid burning, until apples are nice and soft and the liquid has cooked down into a nice syrup.
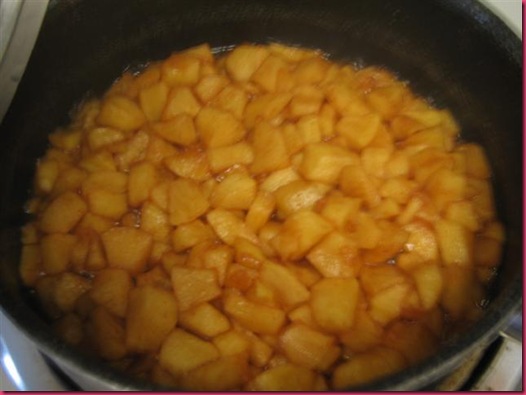
- If the apples get too dry and all the liquid evaporates, add more juice or cider as needed.
- While apples are cooking, prepare grits according to package directions. I added a tiny bit of butter at the end to add a bit of flavor and extra creaminess to the grits!
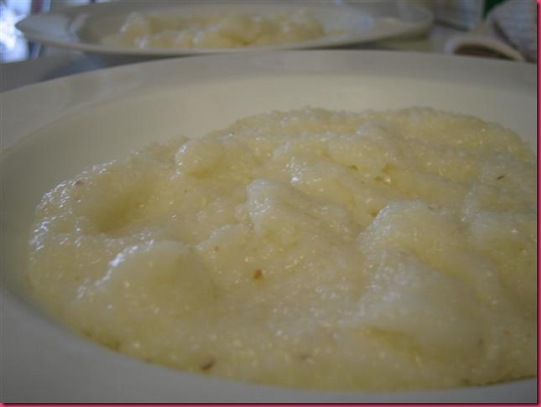
- Top grits with apples and dig in!
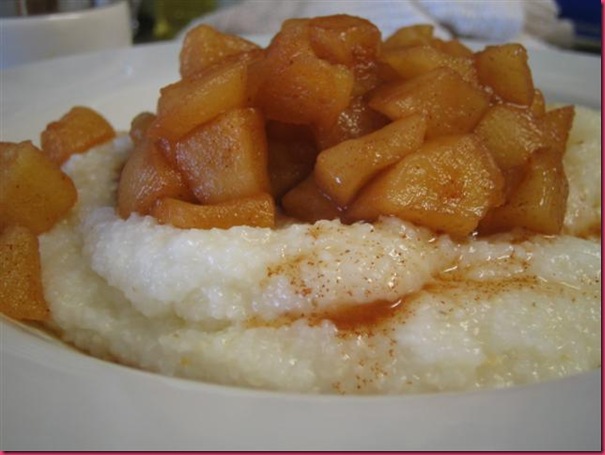
I’d recommend serving with biscuits and jam (which we didn’t have) or toast or maybe even more fruit on the side. This bowl was really filling at the time, but didn’t last us all the way until dinner. So tasty though. Yum!
And for some fun, here are giveaways!
- Envirosax Giveaway at Jackson’s World
- Maple PB giveaway at I Walk In This World
- Holey Donuts (!!!) at Danica’s Daily
Spicy Chicken Tortilla Soup
June 13th, 2009 Posted 2:57 pm
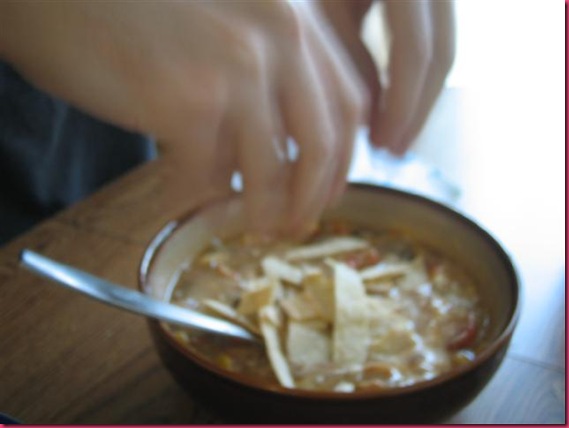
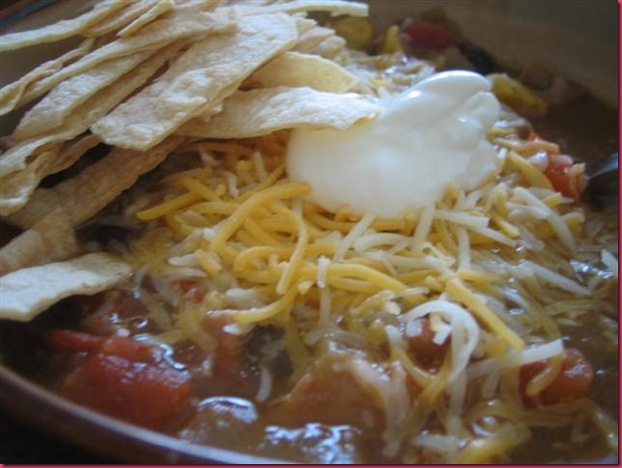
As promised, here’s my tortilla soup, made from the taco leftovers. This turned out crazy spicy….I thought the heat from the chicken would be dispersed a bit with the liquid in the soup, but apparently not. I added a few extra spicy ingredients to the soup, but mostly the heat from the chicken was the main spice. The spice was a good thing though, since I could barely taste anything with my cold. Plus, we always eat our tortilla soup with cheese and sour cream, so the heat pairs really nicely with the cream.
Spicy Chicken Tortilla Soup
- Sauté 1 large onion, two bell peppers (I used one yellow and one red), salt, cayenne pepper and two cloves of minced garlic in a bit of olive oil until soft. Considering the heat of the soup, the cayenne was probably unnecessary here, but I was afraid of a bland soup!
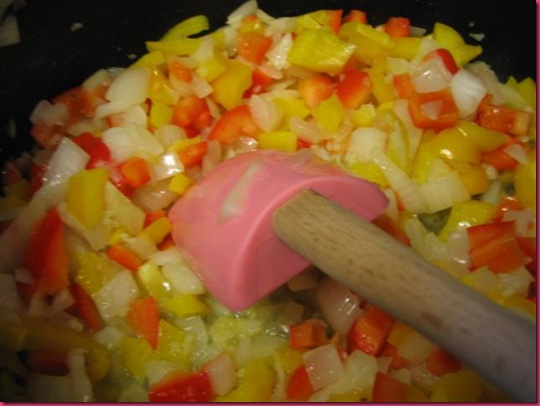
- Add some leftovers
- Remaining chicken thighs (remember I made an entire family pack…there was a ton left!), chopped
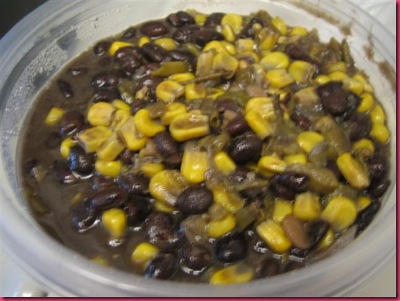
- Black beans, onions, garlic, chilies and corn
- 2-3 chopped fresh tomatoes (I thought I had a picture of these??)
- …and some new stuff.
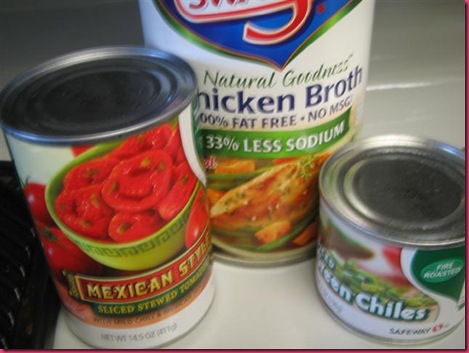
- 1 can Mexican style stewed tomatoes
- 1 can green chilies
- 1 large can chicken broth, low sodium (I used a little less than this whole can)
- Add chicken broth so it looks slightly soupier than you’ll want the end product. It will thicken a bit. We cooked it for several hours since we were both home all day. You could probably get away with letting it simmer for an hour. We had it covered for most of the cooking time…it will cook down more if you uncover. You could also throw this in the Crockpot…although this batch made so much it wouldn’t have fit in ours.
- While the soup is simmering away, make your tortillas! You can buy chips and use those. We had a big pile of corn tortillas in the freezer that I wanted to use up, so I baked them into crispy strips! I’ve done fried strips in the past, and they are delicious, but baked is obviously healthier, and it doesn’t leave your kitchen smelling like grease.
- Cut into strips and place in single layer on a baking sheet coated with cooking spray. Spray the tortilla strips with cooking spray once they’re arranged on the sheet (and you could season them now if you wanted).
- Bake at 350 degrees for 15-20 minutes. Toss with a sprinkle of of salt while warm. We made these in four batches since we had so many tortillas. Yum! It was hard not to snack on these 🙂
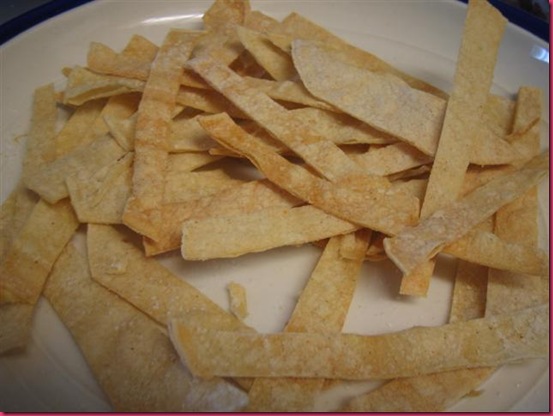
- Serve with toppings and tortilla strips! Yuuuummm! This made an ENORMOUS amount of soup. We’re having leftovers this weekend and then freezing the rest for later!
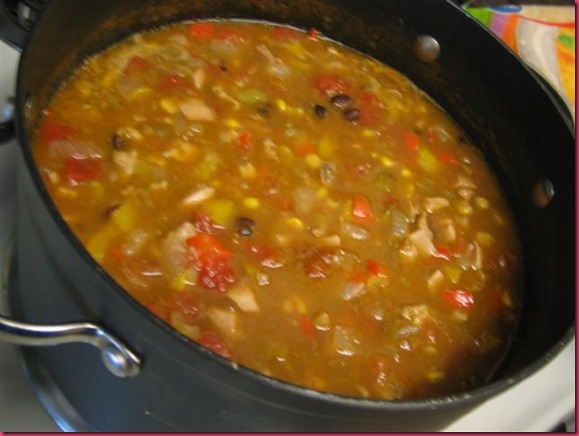
Before I added the chicken broth it looked like this. 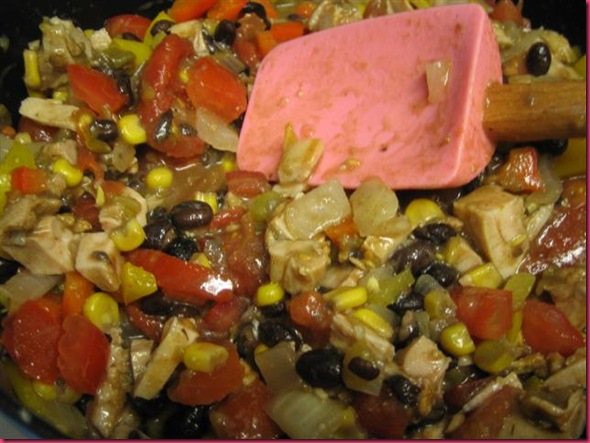
I love all the colors going on in there. Matt gave it a thumbs up! 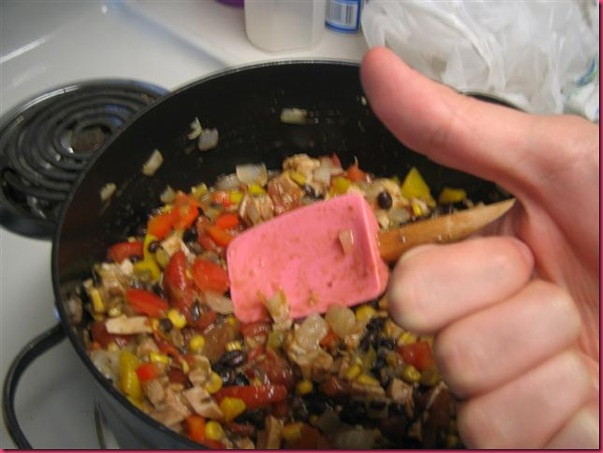
Spicy Spicy Grilled Chicken Tacos
June 11th, 2009 Posted 5:34 pm
I’m home sick today because my head is so congested it feels like it might explode. The congestion has turned me into a completely nonsensical wreck, so here’s last night’s dinner. Homemade tacos are one of my favorite comfort foods. As long as I can remember, we always had the box that came with shells, seasoning and sauce and we just used ground beef to make some really satisfying tacos. We also included green olives in our toppings, which Matt will have none of. At home,we grabbed a taco shell and filled it with our own meat and toppings, but my grandma fills the tortillas with meat and cheese and heats them in the oven…this leads to less giantly heaping, over-filled tacos that my mom and I tend to create. Recently, I’ve been experimenting with some other taco types, and thinking about leftovers and the extra space we have in our freezer right now, I went with something I could turn into soup the next day.
Spicy Spicy Grilled Chicken Tacos
- 1 large, family-size pack of boneless, skinless chicken thighs (you can go with breasts or really any kind of meat you want, but I find that the thighs have so much more flavor and work well in this kind of preparation)
- Spice Mix (I used equal parts cumin, cayenne pepper, paprika, salt, garlic powder, onion powder, chili powder)
- Hot Sauce (Big S Farms Tennessee Lightning hot sauce)
- 1 medium onion
- 1 clove minced garlic
- 1 large can black beans (Drain about half of the liquid off the beans)
- 1 can sweet corn
- 1 can diced green chilies
- flour tortillas
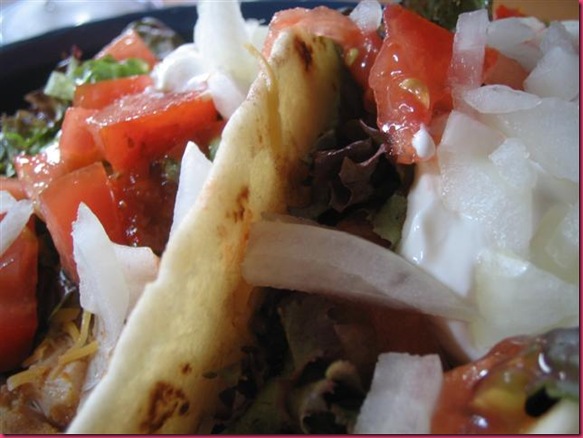
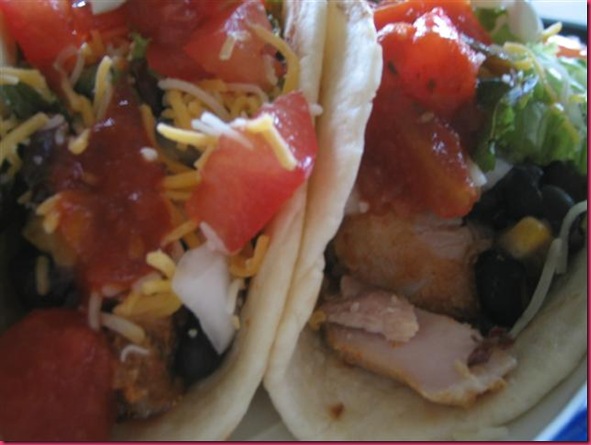
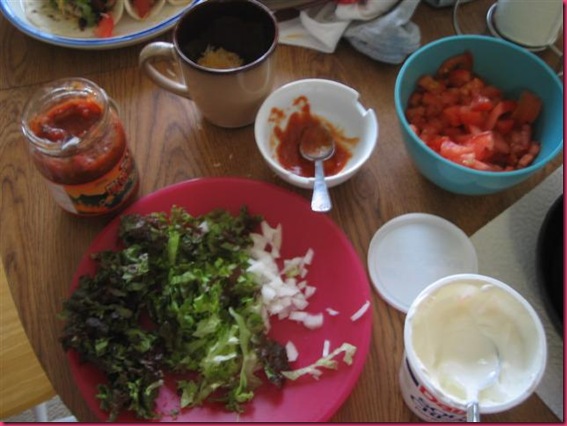
- Your favorite taco toppings (we used red leaf lettuce, shredded cheese, chopped onions, tomatoes, taco sauce, sour cream and Big S Farms Hot salsa)
- Rub chicken with spice mix and coat with hot sauce. I did all of this in a big ziploc bag to try and keep the mess to a minimum (it didn’t work). Let that sit for 20-30 minutes in the fridge.
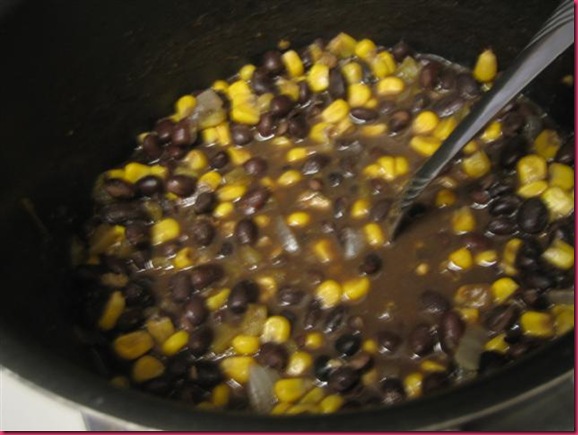
- While the meat rests, heat a tiny bit of oil in a small pot and sauté onion and garlic just until soft. Add beans, corn, and chilies and heat on low while you cook, stirring every once in a while to keep from burning or sticking.
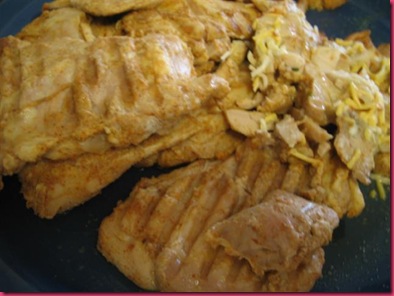
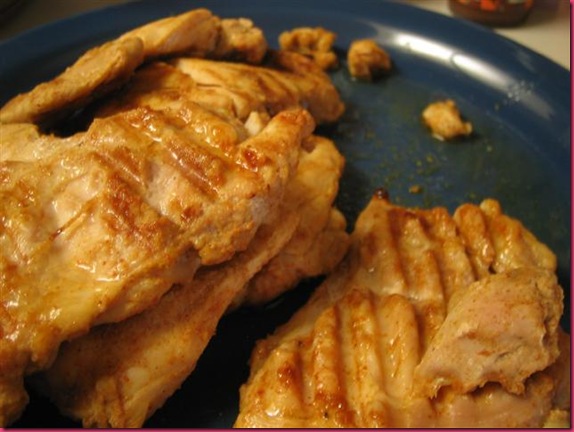
- Grill, roast or pan sear chicken until cooked through. We used our stovetop grill pan and it worked pretty well. If it had gotten a tiny bit hotter, I would have had better grill marks, but the chicken still turned out great. Be sure not to crowd the pan you’re using, since the chicken and its marinade will let off quite a bit of liquid. You don’t want to boil the chicken. If you’re grilling, the chicken under a brick method is pretty wonderful. I used a big heavy skillet with the bottom covered in foil to achieve a similar effect. (this chicken was INSANELY spicy, but once it was topped with the other yummy stuff and wrapped in a tortilla, it was perfect! Matt loved them so much he had 3 huge tacos!!)
- While chicken cooks, prep vegetables (chop, dice, shred, etc.) and heat tortillas. We heated the tortillas quickly on a hot pan, flipping a couple times until warm. You can also microwave in a damp towel or heat in the oven. Whatever you prefer. Matt got these great thick, handmade tortillas from across the street that were wonderful for the huge amount of stuff we put on them!
- When chicken is cooked through, let it rest on a plate for a few minutes, then chop and serve!
- Top flour tortilla with chicken, black beans and toppings and prepare to make a huge mess!
A boxed dinner brightened up!
June 9th, 2009 Posted 9:56 am
Trader Joe’s is amazing. If I step foot in the store I usually leave with no less than 8 different types of snacks. LOVE it.Â
They have this box of convenient indian food that Matt and I are fans of…it’s not spectacular, but it’s $4 and it’s EASY. Perfect for a night when we’re exhausted.Â
It comes with rice and two dishes. One with lentils and one with peas and potatoes. The peas/potatoes are spicy and the lentils creamy. They could both be a little thicker for my taste, but with some naan (toasted and rubbed with a clove of fresh garlic), there is plenty of soaking up of sauce to do.
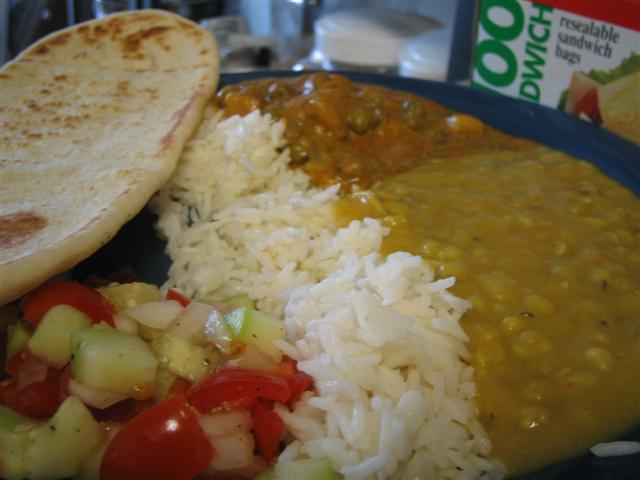
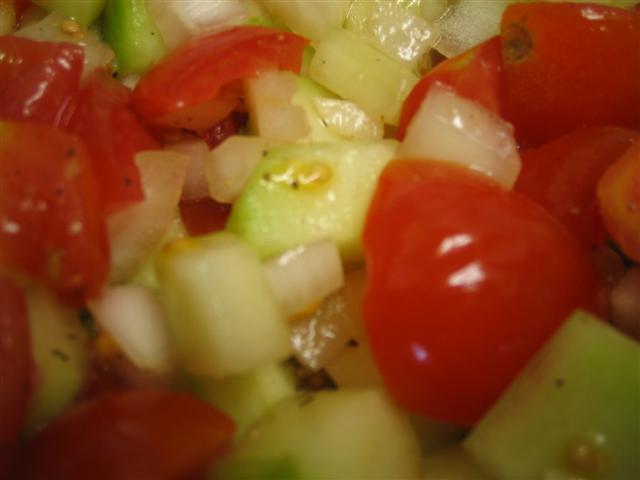
The best part was the refreshing salad I threw together to serve with it! Inspired by the salad that you find on Indian lunch buffets, I grabbed a large cucumber, a small sweet vidalia onion, and a package of cherry tomatoes. I chopped them all and mixed with salt, pepper and the juice of a baby lemon.
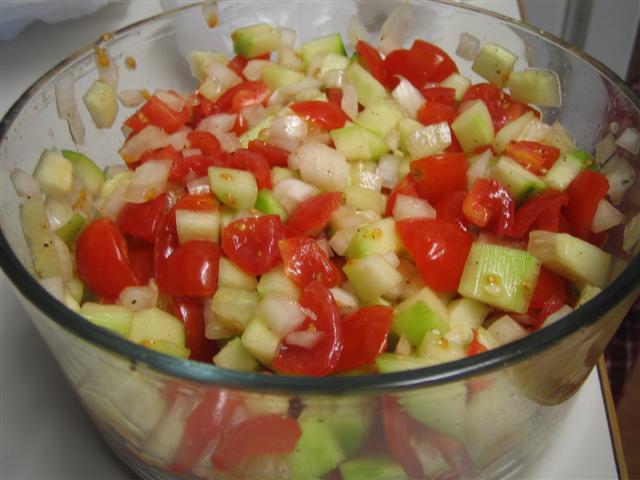
SO refreshing and the perfect accompaniment. It made the decent, quick and easy indian dinner fresh and summery.
Later this week: grilled chicken tacos turned into tortilla soup and a recap of some yummy KY food.
Posted in Yum

