Archive for the ‘Leftovers’ Category
catching up with Peanuts and Pork
May 30th, 2009 Posted 6:08 pm
I am super-slacking at the blog lately. It’s been busy all around, we’re planning lots, friends are in town, and we really haven’t been going crazy with new meals that I can post. But I have a few things, and a yummy noodle dish!
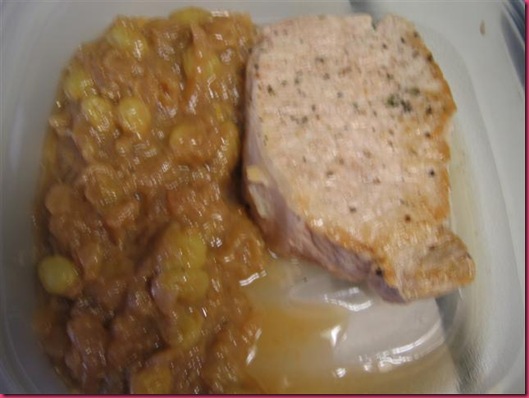
First, remember the pork chops with rhubarb sauce? We opened up the leftovers to use them for a meal earlier this week, so here’s what the final product of the pork and chutney looked like (after sitting in the fridge for a couple days anyway, and also a little fuzzy…):
Find out what we did with the leftover chop down below.
Second, here are Matt and Santana, viewed from above. The weather in Seattle has been GORGEOUS, and with our windows open, I heard them walking outside and ran to the balcony to see!
I yelled down for Santana to sit and then threw her a treat from the 2nd floor…SO cute!
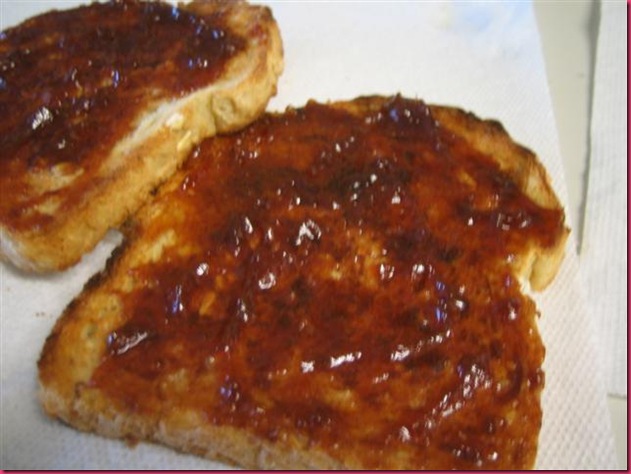
Another follow-up picture. Remember the amazing apple butter also from last weekend? Here it is on some toast! It is AMAZING! And because it is SO sweet, you only need a tiny bit on the toast. These slices had a little too much apple butter on them for my taste. I think you could probably cut down the amount of sugar that goes into the original recipe if you didn’t want it quite as sweet.
Onto the recipe:
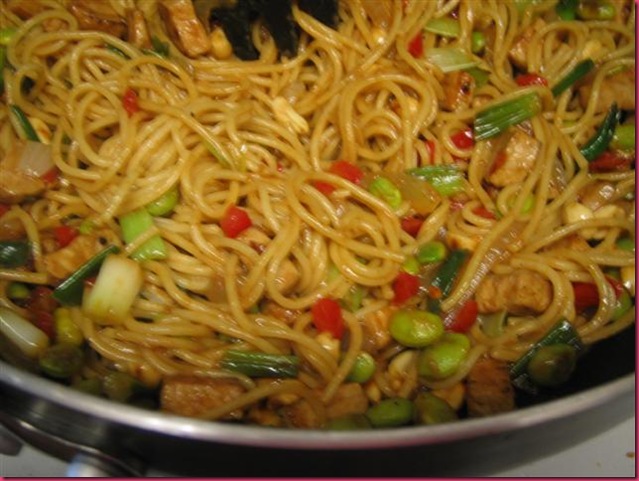
Peanuty Pork Noodles
- canola oil
- 1/2 white onion, sliced
- 2 cloves garlic, grated
- 1/4 cup red bell pepper, chopped
- 1/2 cup frozen edamame
- 1 leftover pork chop, chopped
- 1/4 cup unsalted peanuts
- 1 bunch green onions, chopped
- peanut sauce (I’ve made my own in the past, but this time we just used one we had in the fridge)
- a tiny bit of stir fry sauce (I like this to add a little bit to the peanut sauce)
- Cooked pasta (we used thin spaghetti, but if we had vermicelli or some other kind of noodles, I would have used those instead)
- Heat oil over medium-high heat until almost smoking.
- Add onion and garlic and stir fry until just starting to brown on the edges.
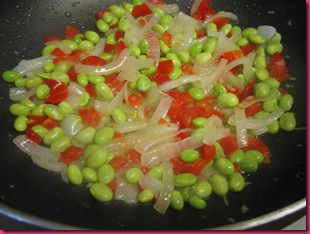
- Add pepper and edamame. Since the edamame is frozen (and so was our pepper), there will be some liquid released, which will actually help cook the frozen veggies through. Sauté until liquid has evaporated and veggies start to brown.
- Remove to a platter
- Add chopped pork, peanuts and green onion to sizzling hot pan and stir fry for just a couple minutes to heat through. The pork will get nicely browned edges.
- Add veggies back in along with peanut and stir fry sauces to your desired sauciness.
- Toss with cooked pasta and adjust seasoning.
This was a SUPER easy way to use up the pork leftovers as well as some of our frozen vegetables. And it was really yummy. It hit the Thai/Chinese noodle craving that I get pretty frequently.
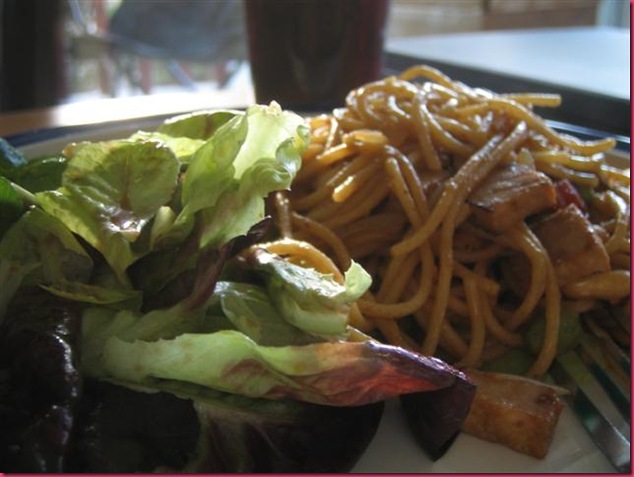
We had some tender red greens still left in the fridge that would only last a day or so more, so I wanted to make a side salad to go with the noodles.
To cut through the creaminess of the peanut sauce, I went with a vinaigrette that I completely eye-balled. There was no measuring at all. Unfortunately, it was a little too vinegar-y for Matt, but I LOVED it. I basically topped the salad with my noodles and ate the two together.
In a small plastic container I put the following ingredients, closed the lid, and shook until completely mixed. Then just tossed with the greens. SIMPLE.
- sesame oil
- olive oil (about half as much as the sesame oil)
- rice vinegar
- red wine vinegar (about half as much as the rice vinegar)
- soy sauce (just a dash or two)
- honey (a tiny drizzle)
- white pepper
- ground dry ginger
A few kitchen things!
May 25th, 2009 Posted 3:06 pm
Happy Memorial Day! We’ve spent the extra day getting some chores done and getting ready to make burgers and yam fries for dinner! Plus, I’m getting my hair chopped off in a couple hours! I don’t have a plan and am trying a new stylist, so hopefully all goes well! Cross your fingers for me 🙂
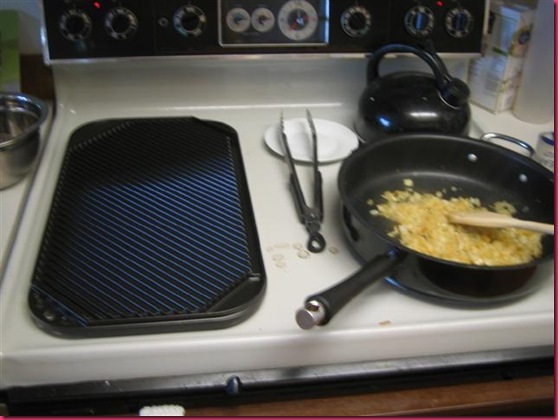
Check out our new grill for the stovetop! I am really excited about this thing! The other side has a flat griddle, which will be wonderful for PANCAKES!
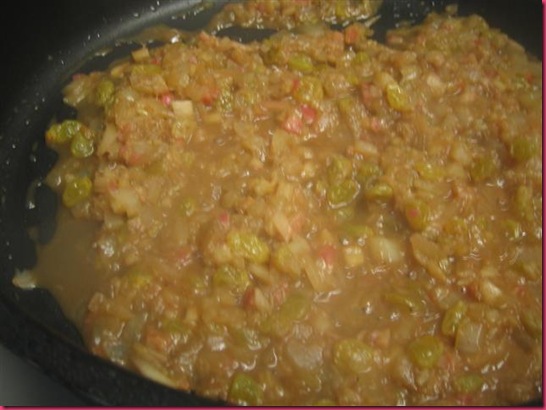
In the pan next to the grill, there are some onions cooking down for a really fun and delicious new sauce. We had rhubarb in our CSA box this past week and I have never cooked with it, so I wanted to do something other than just Strawberry Rhubarb pie. I found this recipe from Gourmet magazine that used golden raisins, onions and rhubarb to make a chutney to go along with some pork. This turned out really great! I got distracted and forgot to get a picture of the final product, but here’s the chutney as it cooks down:
It worked really well with the pork, and we served it with some parmesan toast and some grilled asparagus (way to go grill pan!!) Also check out my meat thermometer at work…
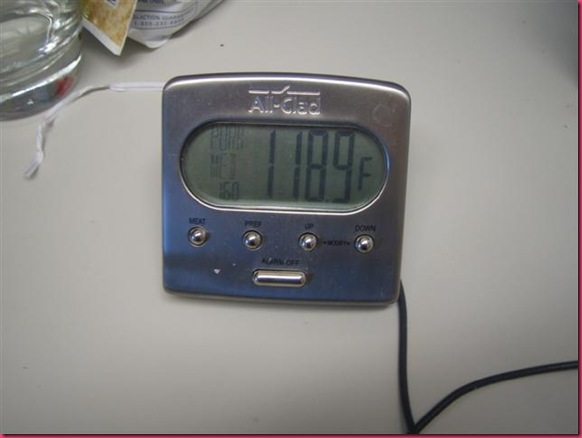 the pork was cooked perfectly!! I cooked it to 160 degrees, the setting for Pork-Medium. Then let it rest, wrapped in some foil and it came up to a perfectly moist, thick-cut pork chop. Yum!
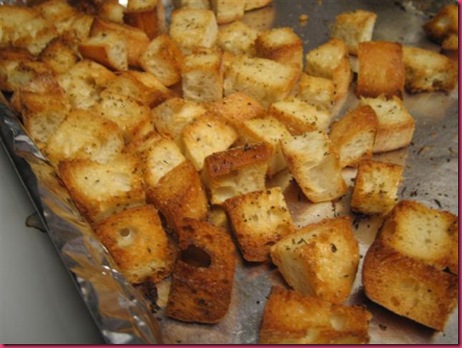
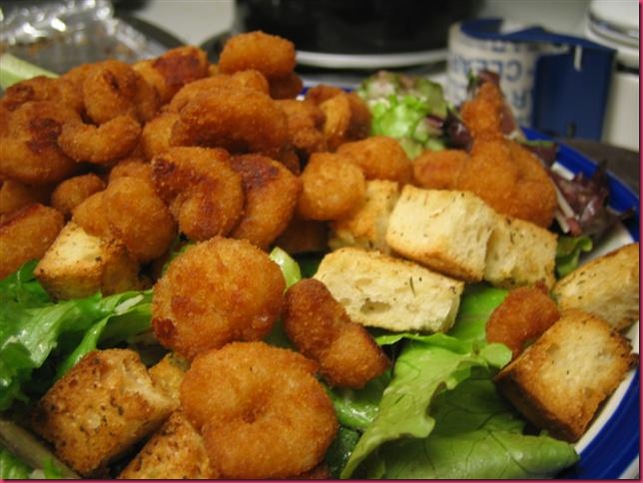
Earlier in the week, we used up some ciabatta rolls and made italian garlic croutons to go on a salad with: lettuce mix from Full Circle Farm, frozen popcorn shrimp, random veggies and a parmesan dressing. A very satisfying and light-ish dinner (the popcorn shrimp was not the healthiest thing we could have chosen, but it hit the spot and is exactly what we were craving!). The croutons are super easy…tossed in a little olive oil, salt, pepper, garlic powder, onion powder and italian seasoning. Baked in a low oven. The ciabbata bread got nice and crispy on the outside, but kept a tiny bit of chewiness inside. I almost lost track of them, but managed to pull them out just in time to avoid burning the edges!
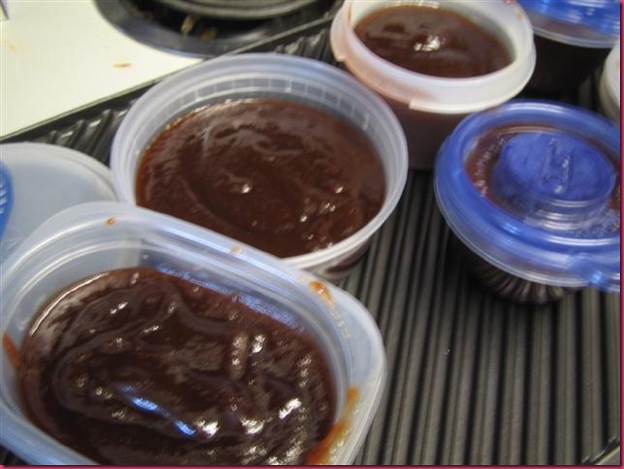
As promised, I tried out my mom’s Crockpot apple butter. Well, it comes from a local newspaper at home, but it was easy and I am excited to try it on some toast!
Slow-Cooker Apple Butter
- 5-6 pounds apples – peeled, cored and chopped
- 4 cups sugar
- 4tsp cinnamon
- 1/4tsp each ground cloves, salt and ground nutmet
- Mix everything together in a large bowl and add to the crockpot. You should use enough apples to have your Crockpot heaping full.
- Cover and cook on high for 1 hour.
- Reduce to low heat and slow-cook for at least 9 hours. (I planned this poorly and woke up at 4am to turn it onto “warm†so it wouldn’t burn while I finished sleeping).
- Remove lid and continue to slow cook until thick and brown with no liquid left.
- Even though the recipe doesn’t call for this, I wanted smooooth apple butter, so a little before there was no liquid left I pureed it with my amazing stick blender and then let it bubble away for a little longer.
- Fill containers. The recipe says you should use sterile jars and boil them in a hot water bath to seal. Neither my mom or I did this. A) I don’t have the equipment. B) I don’t have the patience.
- The butter will thicken a bit when it cools. I put one container in the fridge and the rest in the freezer. It made about 7 small containers of apple butter. And it is GORGEOUS.
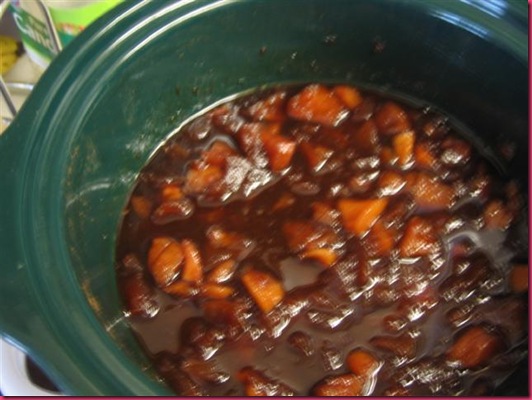
This is what the apples looked like after I woke up in the morning:
Use this apple butter in things like my mom’s pork dinner.
Posted in Family, Fun, Leftovers, Magical Magical Animal, Yum
Soy Squared Fried Rice
May 21st, 2009 Posted 4:39 pm
Update: our car is at the body shop and we should have it back next week! I can’t wait to see it all fixed!
Second update: In case you forgot how wonderful Santana is, here are some gorgeous pictures Matt took yesterday while he was working from home. In the afternoon, the sun comes directly in the sliding glass door and Santana follows the sun for a warm nap place as it moves across the room.
Food time!
Our somewhat-regular Thai restaurant makes this AMAZING fried tofu. I have tried fried tofu at other places and it is OK, but I haven’t found a restaurant with the same kind and it makes me sad.
So Monday night I took a leap and tried frying up some tofu for fried rice. It turned out GREAT! Next time, I’ll season up the flour mix a little more and fry at a higher temp for a little longer (the second batch turned out better than the first).
Soy Squared Fried Rice
- Fried tofu squares
- Extra-firm tofu, cut into squares and pressed between clean towels to remove the extra moisture
- Dredged in a mixture of flour, salt, pepper, red pepper.
- Fried on both sides in some vegetable oil until brown (about 10 minutes or so, depending on the heat of your oil)
- Round one: aromatics
- Chopped Onion
- Minced Garlic
- Round two: Veggies that need to be cooked a bit
- Chopped red bell pepper
- 3 carrots, peeled into long ribbons and roughly chopped
- Frozen edamame (about 1 cup)
- I feel like I’m forgetting something—you really can use any veggies you like.
- Round three: Veggies that only hit the heat at the last minute
- Bean sprouts
- Sliced green onions
- (I often use baby bok choy or some cabbage here)
- Sauce options
- Peanut Sauce
- A tiny bit of broth or water
- Soy Sauce (If you use soy sauce, that probably makes this a soy-to-the-third-power fried rice)
- Hoisin
- Thai chili sauce (only a tiny tiny bit!!)
- Cayenne pepper
- 1 heaping cup of leftover rice (you can make fresh rice, but leftover is a little more dry and fries really nicely)
- 2 eggs, beaten
- Prepare the tofu in a large frying pan, skillet or wok and set aside. Leave a tablespoon or so of the vegetable oil in the pan.
- Sauté the aromatics in the oil until translucent. Using the leftover oil from the tofu works well because there will be a tiny bit of flour from the tofu coating, which will thicken as the sauce cooks.
- Add in the round two veggies and let them cook until they are just starting to get tender.
- Toss the round three veggies in and stir.
- Add your choice of sauce right after this and toss to coat. I usually use a mix of the stuff listed above and sometimes try to make my own if I have the ingredients on hand. You’ll want it to seem just a little more liquid than you like because you still need to add the rice and tofu.
- Remove the veggies and sauce to a large plate.
- Fry the rice (sometimes I hold back the green onions and fry them with the rice instead) until it starts to get crispy. This is where things can get smoky and burnt if you’re not paying attention! This is also a good time to add peanuts if you want (an amazingly wonderful addition) or sesame seeds if you have them.
- Make a well in the middle of the rice and fry the eggs quickly. Once they cook through, mix with the rice.
- Add the veggies, sauce, and tofu back into the pan and toss it all together.
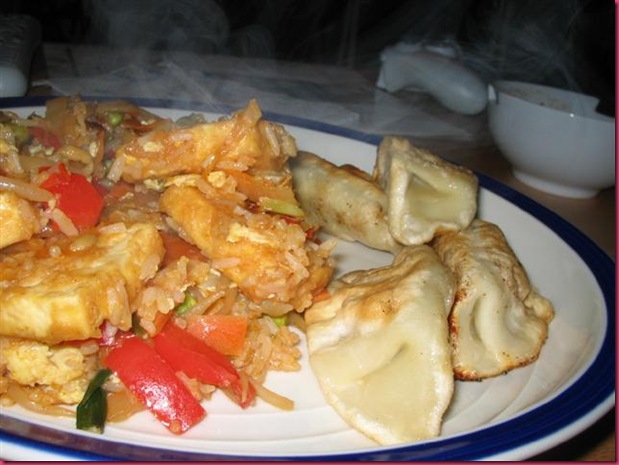
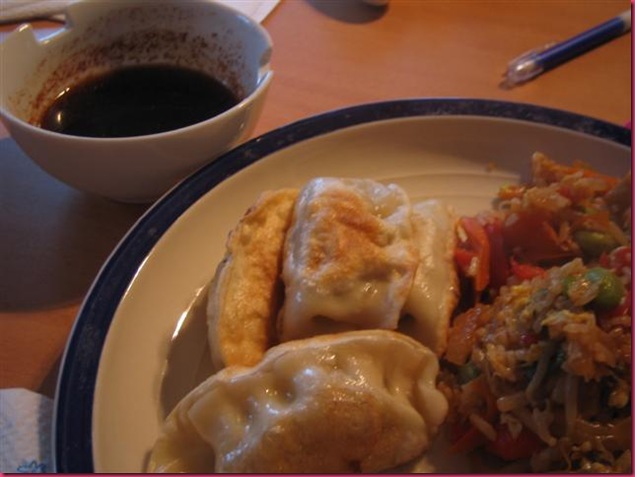
We served with some pot stickers from the freezer and a honey-cayenne-soy dipping sauce that Matt made! SO delicious! Plus I have leftovers for lunch!
The other night, we also made some drinks with a fresh watermelon puree and some vodka….it was a liiiiittle too strong for us, but the watermelon was delicious (I have a giant bowl in the fridge with watermelon and cantaloupe and it is snacking heaven this week!) and I am mostly SO excited that it is almost summer! Hooray!
Mom’s Blogging Debut
May 19th, 2009 Posted 10:40 am
Keep reading for a mini-guest post from my mom with a hard-core apple themed meal!
I am light on meals to post because Matt was out of town all weekend and I didn’t do a ton of cooking. Tomorrow or Thursday I’ll be posting a more successful version of my fried rice…Soy Squared Fried Rice. Stay tuned!
Before we get to Mom, check out Missy Maintains for a Rudy’s Organic Bakery giveaway! These products look delicious!
Ok, on to mom…a little info first. My mom is hilarious and has recently been getting really creative with her food! So when she sent me some pictures of her Sunday dinner this weekend I told her I’d feature it on my blog if she sent me a post to go with it! Mom doesn’t have a blog (sad, but true), but she does have an Etsy site that is great! Guess who designed the banner??? 😉 As I wrote about before, she crochets like crazy and everyone in the family has piles and piles of afghans to show for it. This is spectacular! I love afghans, and Santana loves to dig them (maybe I will try to get a video of this sometimes), so it’s good that my mom keeps cranking them out! With her surplus of afghans, she’s created Crochet By Shelly, where you can buy your very own, spectacular, hand-made afghan from my mom! All proceeds go to benefitting my mom make more afghans! I think she’d probably be up for suggestions or requests if you had a particular pattern or color that you wanted…we haven’t quite figured out the Alchemy section of the Etsy site, but there’s a way to do this! ANYWAY, check out my mom’s Etsy shop for all your afghan needs. First, though, check out my mom’s Apple Butter Pork and Apple Pie Sunday dinner!
—————————————————-
On the roast, I don’t really have a recipe..
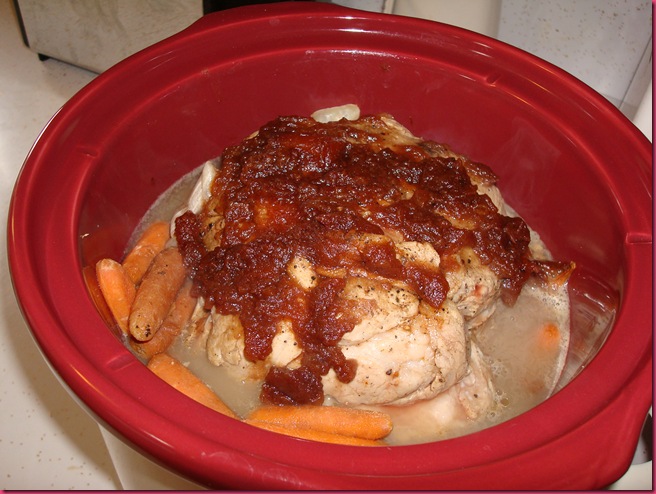
I browned it (peppered) with olive oil on all sides on the griddle since it was out from making grilled cheese last night. Chopped up a good size onion and placed in bottom of crock pot after adding some season salt. Had some small carrots and threw some in. Placed the roast in. Added the rest of the carrots. Put some apple butter (Mallory’s note: My mom makes this from scratch in the Crockpot!! I have the recipe and plan to try it soon…expect a post about it!) on the top. Threw in some beer (surprise – it was the handy liquid and didn’t feel like opening up stock). Turned the roast once and added some more apple butter and some water. Too much liquid now, so I took some out and put in a pan to make gravy with later. Have no fresh potatoes so I add a can at the end – you know those cans dad always has in the cupboard for chili. (Mallory’s note: these cans of potatoes are SO handy! Not fresh potatoes that you want to eat on their own, but great for soups or random things like this.)
We don’t have a picture of the final product all plated up, but Mom’s new to this blogging thing, so we’ll let it slide…if she sends one later, I’ll post an update! 🙂 She said the pork was AMAZING and you could taste the apple butter all the way through. Yum!
PIE:
- I’m weak – use Pillsbury dough.
- ¾ cup sugar
- ¼ cup flour
- ½ teaspoon nutmeg
- ½ teaspoon cinnamon
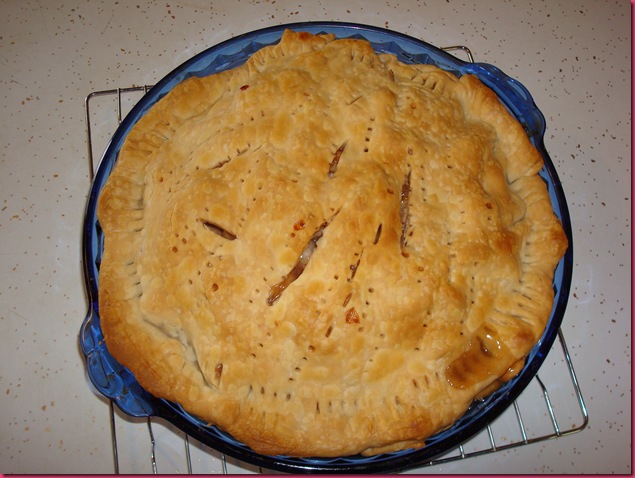
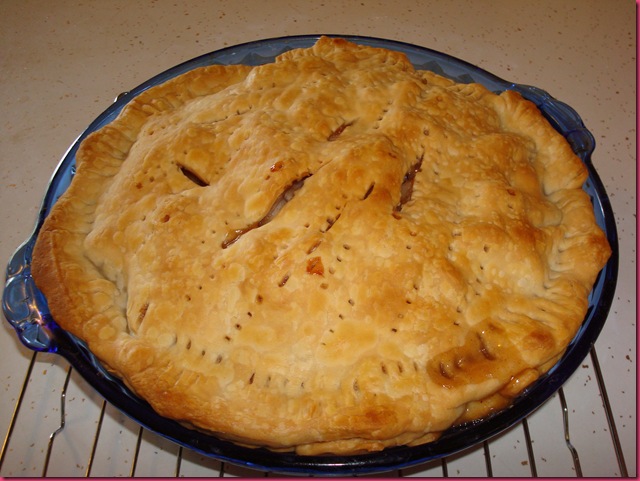
Mix that stuff ( I put in a little more because I over stuff it so when it cooks down – dad still has lots of apples). Add the apples sliced.. the recipe calls for 6 – but I use the whole bag from the store… When the seasoning is right and I don’t’ have to buy at the store, I will guess how many. Mix apples with above.. put in crust (don’t grease pan). Cover with other crust. Do the sealing, fluting and all that good baking stuff. Add some slits to top crust to let the steam escape. Cover with that crazy thing to keep the edges from burning… remove 10- 15 minutes before done.
425 – 40-50 minutes..
Serve over vanilla ice cream!
I am crazy craving apple pie now! Thanks mom!!!! Miss you!
Posted in Blog Fun, Craftiness, Family, Fun, Guest Posts, Leftovers, Life, Magical Magical Animal, Yum
CSA Veggies Galore
May 15th, 2009 Posted 11:47 am
So I am working from home today because I was in a minor accident on the highway that has left me really shaken up (I’ve never been in an accident before!), but physically OK. Santana is trying to comfort me by climbing into my face every few minutes while I try to answer emails and conduct phone appointments from home. She’s adorable and really knows just when to be sweet at the point when I need it the most. Last night (after a morning of vomiting up her breakfast because she ate too fast), I fed her dinner by hand, piece by piece. She got to practice her tricks (sit, down, shake) and we worked on “leave itâ€â€¦she was NOT amused. After we got done she searched around for a bowl full of food, and then she stood over by her bowls and glared at me. To celebrate her cuteness, a couple pictures:
So, that was more than a couple…but she’s too sweet and adorable and I couldn’t choose! The first one is the day after we got her I think…she was SO tiny!
To further take my mind off of this morning, here are a couple recipes, inspired by the return of our CSA box last week.
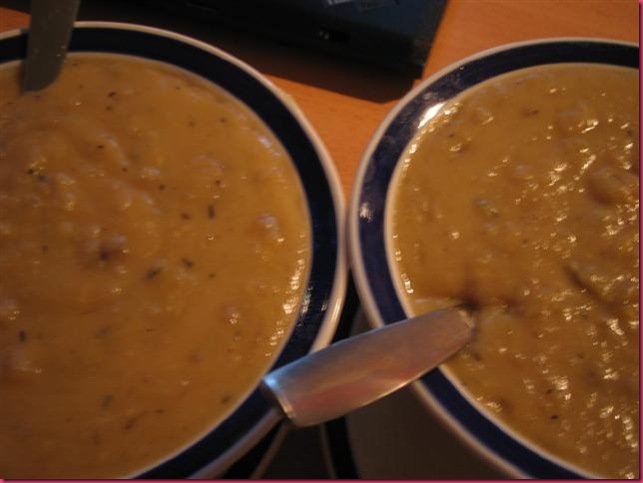
Crockpot Leek and Potato Soup
- 1 large leek, washed and chopped
- 1 lb red potatoes, peeled and chopped
- Minced Garlic
- Dry Thyme
- Chicken Broth
- Cream and shredded cheese to taste
- Sauté leek and garlic in a bit of olive oil to get it nice and soft and translucent, with little bits of caramelization starting to form.
- Add to Crockpot with potatoes, thyme and chicken broth to cover.
- Cook on low for the day (I’d guess at least 4 hours, depending on the size of your potatoes…ours cooked until about 7:30pm, when I got home)
- Puree or mash to your desired consistency. I left a little bit of potato chunkiness, but pureed it with my stick blender quite a bit.
- Add a bit of cream to smooth it out and shredded cheese (we used cheddar) depending on your taste. The cream and cheese could most definitely be left out.
Easy! These heaping bowls of soup were our whole dinner this night, and it was a perfect soup for a rainy and cold evening on the couch. (Again, what is going on with me and the fuzzy pictures lately??)
—————————————————————————————————————————————————————–
We also had some HUGE stalks of asparagus in our box this past week. Some of them were almost an inch wide at the bottom! I chopped them up and made them into a quiche! The recipe I started from had completely different fillings, but quiche is one of those things that you can turn into whatever you want, which is why I love it so much!
Bacon and Asparagus Quiche
- 2 batches of pie crust of your choosing (homemade is obviously best, but Pillsbury works in a pinch)
- 8 eggs, beaten
- 2 1/2 cups half-and-half, cream or milk
- salt and pepper to taste
- 1 tsp cayenne
- 1 large bunch of monster asparagus, washed and chopped into small pieces
- 5 thick slices of bacon, cut into bite-size pieces
- 2 cups shredded cheese (we used an Italian blend we had in the fridge)
- Cook bacon pieces over medium heat until they are rendered and crispy. Drain and set aside. Sauté the asparagus for just a few minutes in tiny bit of the reserved bacon drippings (um, YUM) to get them just slightly cooked. Set aside, with the bacon.
- Line pie plate with the rolled-out crust. This recipe has enough for two whole pie plates. I filled one regular-sized dish and then cut the rest up and made mini-quiche in a muffin tin.
- Line the pastry with two sheets of foil and bake at 450 for 5-10 minutes. Remove foil and bake an additional 3-8 minutes, until the crust is a little dry. The mini-quiche will get brown and dry much faster than the large, so keep your eye on them.
- Lower the oven temp to 325 degrees.
- Mix eggs, dairy and seasoning in a large bowl.
- In the bottom of the crust(s), evenly distribute bacon, asparagus and cheese.
- Pour egg mixture into crust. Here’s a tip….pay attention! I had a few mini-quiche that didn’t want to come out of the muffin tin because some egg had leaked outside of the crust. Whoops!
- Bake until you can put a sharp knife into the center and it comes out clean. The small ones took about 15-20 minutes. The large quiche will take 40-45 minutes.
- Let rest before digging in.
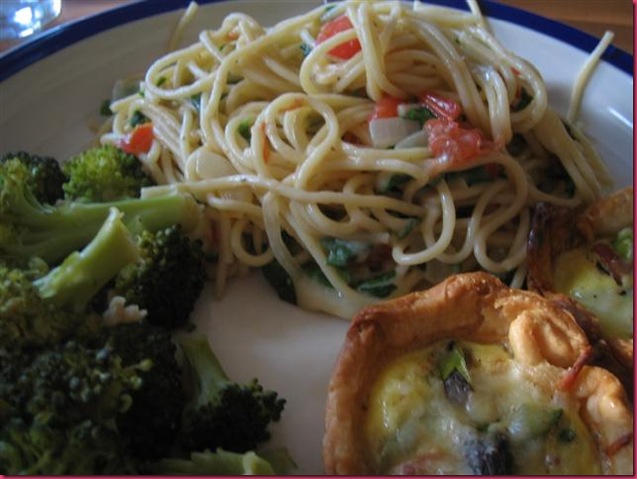
Since I had a HUGE amount of quiche, we froze a few of the minis and saved the large quiche for weekend lunch and weekday breakfast over the next few days. We served a couple mini-quiche like this:
On the side:
- CSA broccoli steamed with garlic and soy sauce
- Thin spaghetti with an onion, white wine, slightly-creamy sauce and tossed with fresh tomatoes and half a bunch of spinach, chopped small.
A really satisfying dinner with lots of veggies! Plus, we had a handful of broccoli and about 1 cup of the pasta left which made a really great lunch at work! Thanks to local and organic farmers! YUM!

