Archive for the ‘Family’ Category
Yabba Dabba Doo Time
August 24th, 2009 Posted 4:24 pm
In scary news, I didn’t post a blog this weekend because we were busy and I was stressed, partly because we woke up Sunday morning to Santana’s bloody vomit all over the living room. I was a complete wreck….called in sick to work today to take her to the vet. Thankfully, the vet thinks it is not a huge deal since she has eaten fine and acted normal since then. She’s now on Pepcid AC with her dinner. What a fussy pup.
Several weekends ago, we were working on cleaning out the freezer (an endless task). I looked over and Matt had pulled out a Flintstones-sized piece of beef. I couldn’t stop laughing. It was huge…I wish I had a picture of Matt holding this meat that was twice the size of his head. It would definitely tip our car over! ![]()
I vaguely remember when we bought this. I like to have meat handy in the freezer and can’t wait until I have lots of space and an extra freezer…I’ll be able to invest in half a cow and actually have the space to keep it in my house! For now, I keep my eye out for great sales on bulk amounts of things like meat. I think when I bought this particular package I couldn’t tell just how huge the pieces of meat were. We made a roast out of one (I think) and then threw the other in the freezer for crock pot fun at some later point.
I knew that later point was finally here when Matt pulled the hilariously large meat out of the freezer.
I love…love…LOVE chili. My dad has always made chili by starting with a basic seasoning mix, adding meat, about 40 different kinds of beans….and pretty much anything else he could find in the cupboard. Sometimes we had potatoes in our chili, sometimes corn, sometimes kielbasa….it was always a crapshoot. But usually really yummy. My favorite was when a little bit of sweetness would find its way into the pot of chili somehow. YUM!
I’ve made chili myself several times…it’s a great way to use up beans, meat, spices, and sometimes I even throw corn in there with it. This time I tried a new recipe for Chili Con Carne from Cooking Light. Because of our schedule, I actually made the original batch overnight two days before the day we planned to eat. This actually worked out really well because I tasted it in the morning and then adjusted, added an extra can of beans and made it perfect for us.
The meat wasn’t amazing…a little bit tough just because of the cut of it, but overall, it had a really wonderful spicy flavor. With some shredded cheese and sour cream, and a side of cornbread, this was a great meal. Plus we have lots of leftovers in the freezer now!
Of course, I can’t find the recipe I used, since I made this in the beginning of JULY (am I seriously that far behind!?). It has been a whirlwind summer….It was a chili con carne recipe from Cooking Light, but I have scrounged the kitchen, my internet archives, everything, and it hasn’t turned up. It had lots of meat, tomato-y goodness, and black beans galore. Delicious. Even if I tried to make it again from the same recipe, it would turn out completely different.
Honey-Topped Cornbread
I like my cornbread with pieces of corn mixed right in. I adapted this recipe by using whole wheat flour, which gave it a nutty-ish flavor and a heartier bite. I added 1 can of drained corn right before pouring it into the pan and then after it baked, brushed it with some honey. This was pretty wonderful with the chili, but even better as leftovers. Matt and I ate a couple pieces split, toasted and topped with creamy butter. A really satisfying snack.
The rest of the cornbread got cut up and mixed with eggs, milk, breakfast sausage, cheddar and scallions to make an amazing cornbread strata that everyone in the apartment (aka. Matt) and everyone at work loved! The cornbread made a great base and soaked up the egg and milk mixture wonderfully in the fridge overnight.
So this recipe was quite a while ago, and proofreading it now and seeing the pictures again makes me want chili and leftover cornbread! Maybe we’ll heat some up from the freezer this week!
Comfort Food Guest Post from Mom
June 26th, 2009 Posted 7:22 am
I have more recipes and things to post, but haven’t gotten myself organized enough to find time for them. I am expecting a pile of editing work this weekend, so hopefully next week I’ll get back on track. Until then, here’s another one from my mom!! This is pretty much top secret information I’m about to share, so be grateful. My grandma makes something we have always called Easter Bread…it has very little to do with Easter for me, since I remember eating it all the time. She used to send it to me in college and one of my roommates and I would devour an entire loaf…it’s amazing. Super simple, but somehow you have to get it just right otherwise it won’t be the same. My mom has been working hard trying to get it to be as good as grandma’s, and she is pretty close…there’s just something about grandma food, right??
Anyway, here it is. Can you really go wrong with bread, cheese, pepperoni and ham?? Nope! I actually like it better when it is leftover in the fridge after a day or two (if it lasts that long). The bread is nice and chewy and soft and because it’s all rolled up, you get a bit of cheese, pepperoni and ham in each bite and it’s one of the most comforting snacks for me 🙂 Take it away mom!
Easter Bread à la Grandma, via Mom
Or as mom calls it: “For the girls that need to add a couple inches to the waistline.†Of course that’s not me and I really don’t know any. Never as good as hers but we keep trying cause it is so yummy.
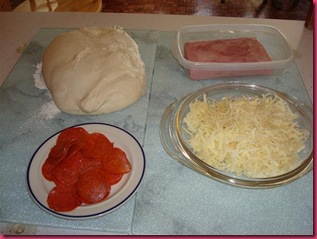
- Bread dough rolled thin (Mallory note: mom has a bread maker, which makes this part wonderfully easy…I have no bread maker and have not yet attempted to make this for that exact reason.)
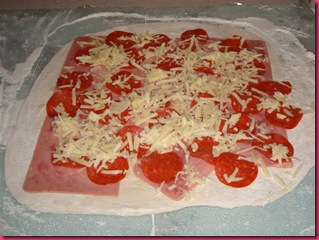
- Ham, Pepperoni and cheese - sharp please
- Dad and I started adding some pizza seasoning too
- roll…seal with cold water
- 350 for 30 minutes…
| MISTAKES | HINTS |
| I love my cheese but too much will make it burst… | When some bursts out of the badly sealed edges - YOU get to eat it…. |
| forgetting the seasoning on the 2nd loaf | Great for me to take to work for breakfast |
| I can get flour all over the kitchen in 2 seconds.. | Wonderful heated slightly with some tomato or marinara sauce for dipping (Mallory note: AGREED!) |
Posted in Family, Guest Posts, Holidays, super-friends, Yum
Spicy Spicy Grilled Chicken Tacos
June 11th, 2009 Posted 5:34 pm
I’m home sick today because my head is so congested it feels like it might explode. The congestion has turned me into a completely nonsensical wreck, so here’s last night’s dinner. Homemade tacos are one of my favorite comfort foods. As long as I can remember, we always had the box that came with shells, seasoning and sauce and we just used ground beef to make some really satisfying tacos. We also included green olives in our toppings, which Matt will have none of. At home,we grabbed a taco shell and filled it with our own meat and toppings, but my grandma fills the tortillas with meat and cheese and heats them in the oven…this leads to less giantly heaping, over-filled tacos that my mom and I tend to create. Recently, I’ve been experimenting with some other taco types, and thinking about leftovers and the extra space we have in our freezer right now, I went with something I could turn into soup the next day.
Spicy Spicy Grilled Chicken Tacos
- 1 large, family-size pack of boneless, skinless chicken thighs (you can go with breasts or really any kind of meat you want, but I find that the thighs have so much more flavor and work well in this kind of preparation)
- Spice Mix (I used equal parts cumin, cayenne pepper, paprika, salt, garlic powder, onion powder, chili powder)
- Hot Sauce (Big S Farms Tennessee Lightning hot sauce)
- 1 medium onion
- 1 clove minced garlic
- 1 large can black beans (Drain about half of the liquid off the beans)
- 1 can sweet corn
- 1 can diced green chilies
- flour tortillas
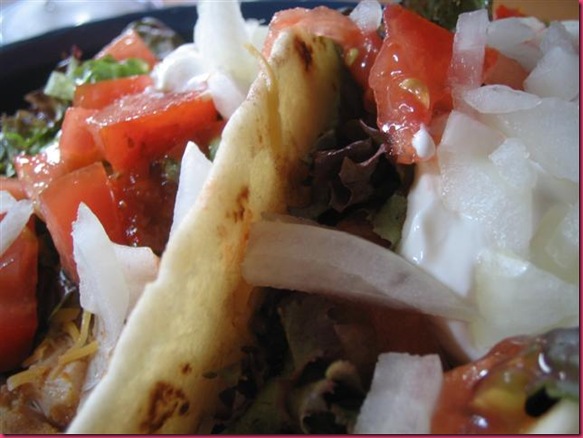
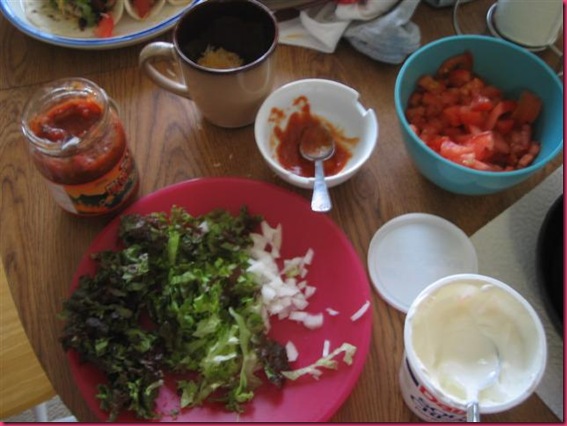
- Your favorite taco toppings (we used red leaf lettuce, shredded cheese, chopped onions, tomatoes, taco sauce, sour cream and Big S Farms Hot salsa)
- Rub chicken with spice mix and coat with hot sauce. I did all of this in a big ziploc bag to try and keep the mess to a minimum (it didn’t work). Let that sit for 20-30 minutes in the fridge.
- While the meat rests, heat a tiny bit of oil in a small pot and sauté onion and garlic just until soft. Add beans, corn, and chilies and heat on low while you cook, stirring every once in a while to keep from burning or sticking.
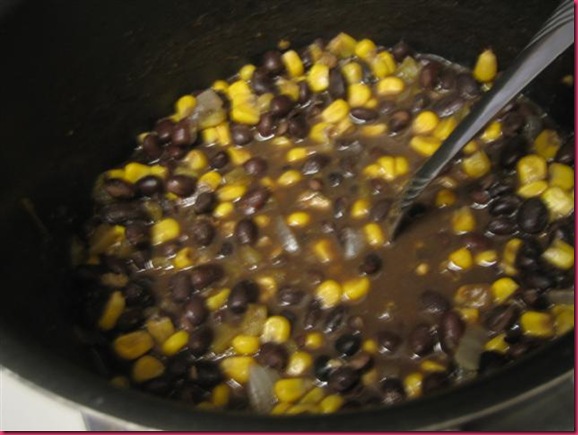
- Grill, roast or pan sear chicken until cooked through. We used our stovetop grill pan and it worked pretty well. If it had gotten a tiny bit hotter, I would have had better grill marks, but the chicken still turned out great. Be sure not to crowd the pan you’re using, since the chicken and its marinade will let off quite a bit of liquid. You don’t want to boil the chicken. If you’re grilling, the chicken under a brick method is pretty wonderful. I used a big heavy skillet with the bottom covered in foil to achieve a similar effect. (this chicken was INSANELY spicy, but once it was topped with the other yummy stuff and wrapped in a tortilla, it was perfect! Matt loved them so much he had 3 huge tacos!!)
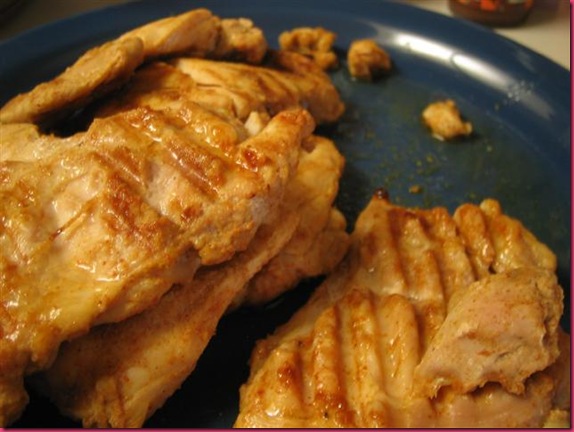
- While chicken cooks, prep vegetables (chop, dice, shred, etc.) and heat tortillas. We heated the tortillas quickly on a hot pan, flipping a couple times until warm. You can also microwave in a damp towel or heat in the oven. Whatever you prefer. Matt got these great thick, handmade tortillas from across the street that were wonderful for the huge amount of stuff we put on them!
- When chicken is cooked through, let it rest on a plate for a few minutes, then chop and serve!
- Top flour tortilla with chicken, black beans and toppings and prepare to make a huge mess!
Recipes From Home
June 4th, 2009 Posted 3:43 pm
Things have been ridiculously busy, and I’m about to head to KY for a long weekend to celebrate a friend’s wedding…plus we have been reheating leftovers from the freezer and having boring meals lately, so there hasn’t been much to post. Plus, Santana has been exhausting me lately….she’s fussy about her food all of the sudden, sometimes doesn’t eat her breakfast, and last night I had to sleep on the couch with her to keep her from howling all night. Not so good. Hop on over to her blog to read about our hike last weekend.
My mom, however, has been on a roll cooking up some of my favorites (and some new things). She sent me massive info about all this stuff, and I’ve decided you’re lucky enough to get a peek at her cheesecake. It’s way down at the bottom of this post and it is my absolute most favorite cheesecake ever. Especially when she uses the mini chocolate chips. I can’t wait to go home (hopefully in September!) so I can get some of mom’s cheesecake 🙂
These are recipes that are simple, easy and satisfying. My dad usually eats them several times in a row for lunch, and lots of times they’ll have leftovers for dinner throughout the week. I love my mom’s recipes because a) she’s hilarious and b) it’s a refreshing change from the fancy blog recipes you sometimes see. Plus, the ingredients are straightforward, easy to find and not intimidating…my mom was NOT excited about trying edamame or tofu at any point. 🙂
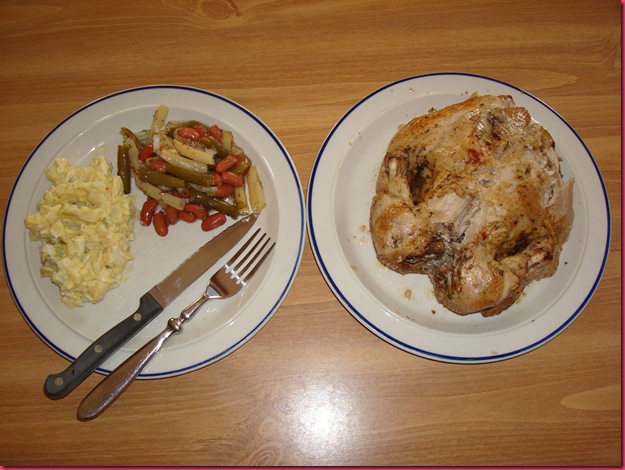
Mom & Dad’s Chicken Dinner
POTATO SALAD
Cook cut up potatoes until done. Cool. Add the following:
- Cut up hard boiled eggs (I use lots)
- diced dill pickles
- chopped green olives (unless you are serving Matt)
- diced carrots or/and celery if you want
Season with seasoned salt and pepper. Add a few tablespoons of the pickle juice and yellow mustard. Toss with miracle whip and chill. Turns out different all the time but after a while you get a feel for the mix and consistency you like.
3 BEAN SALAD
I had a recipe to try with fresh beans but in Unadilla, there were no fresh beans at our HUGE store. So I can across this one in a cookbook I had before I got married – New and Revised Betty Crocker 1978 !!
- 1 can (16 oz) green beans, drained
- 1 can (16 oz) wax beans, drained
- 1 can (15 oz) kidney beans, drained
- ¼ cup chopped onions (calls for green)
- ¼ cup snipped parsley ( I used 1/8 cup dried)
- 1 cup Italian dressing
- 1 tablespoon sugar
- 2 cloves garlic, crushed (once again from my limited pantry – I used 1 teaspoon minced from refrigerator)
Mix beans, onions and parsley in large bowl. Mix dressing, sugar and garlic. Pour over salad and toss. Cover and refrigerate, stirring occasionally, at least 3 hours. The recipe says to serve in lettuce-lined bowls…. Of course, I didn’t..
TEXAS-STYLE FRYER CHICKEN
From Taste of Home Chicken Cookbook
- 1 Tablespoon seasoned salt
- 1 teaspoon pepper
- 1 broiler/fry chicken (3-3.5 pounds)
- 2 garlic cloves, minced (or in my case 1 teaspoon minced from jar)
- ½ cup butter
- ½ cup chicken broth
- ½ cup lemon juice
Combine seasoned salt and pepper; rub inside and outside of chicken. Place chicken on rotisserie rod on grill (we subbed by putting on a rack in a disposal pan). In a small saucepan, sauté garlic in butter until tender. Stir in broth and lemon juice. Pour into drip pan and place under chicken. Baste with sauce every 15 minutes for 1 to 1-1/2 hours or until juices run clear. Dad made this so I don’t even know how much of this he followed!!
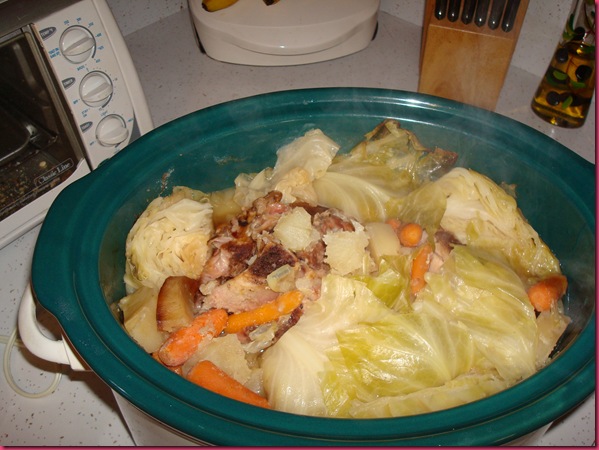
Boiled Dinner
(I will pick the ham and potatoes out of this, but always hated the way the cooking cabbage made the house smell! -Mallory)
Add to large crock pot:
- 3.5 lbs ham (I used half of a bone in one) Froze the rest for another meal.
- Potatoes
- Carrots
- Onion
- can of broth
Remember to leave enough room for cabbage later..Cook on high 3 hours. Add cabbage wedges. Cook 2 more hours..
That’s it. I didn’t add salt as ham can be salty. I drizzle vinegar over mine.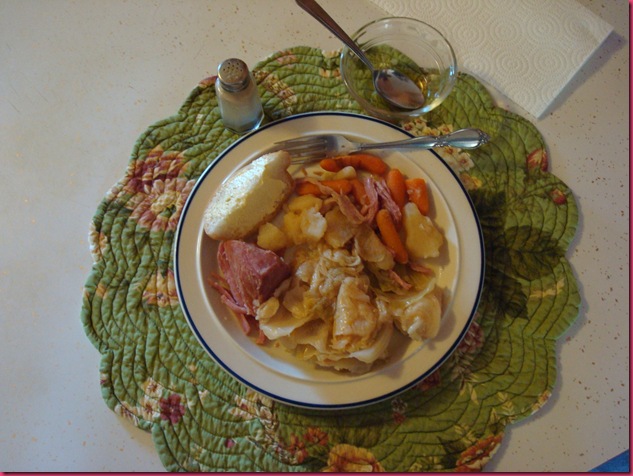
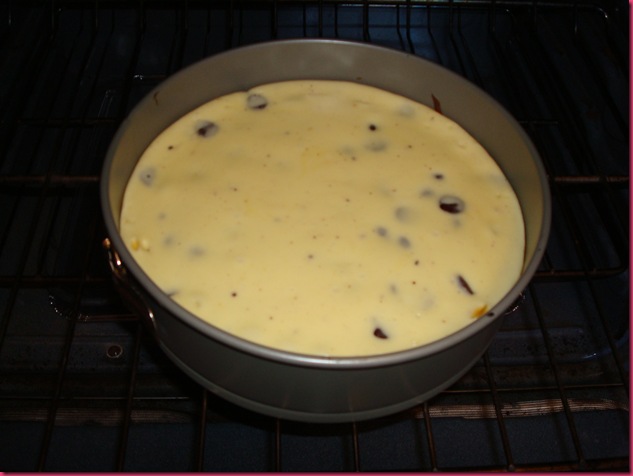
Mom’s Cheesecake
(I generally love cheesecake, but this is my FAVORITE, especially when it has the chocolate chips-Mallory)
- 1 cup graham cracker crumbs
- 3 tablespoons sugar
- 3 tablespoons margarine, melted
Combine crumbs, sugar and margarine; press onto bottom of 9 inch springform pan. I bake in the oven when preheating but only for a few minutes. Make sure it is cooled off before adding cake mixture.
- 3 8-oz pkgs of cream cheese (softened) - I bring to room temp and then microwave at 50% for 1.5 minutes. You can use one “Lite†cream cheese but don’t use 3 – really changes the consistency
- ¾ cup of sugar
- 3 eggs
- 1 cup mini semi-sweet chocolate pieces
- 1 teaspoon vanilla
Combine cream cheese and sugar, mixing at medium speed on electric mixer until well blended. (This is when the mix flies all over if the cream cheese isn’t softened enough). Add eggs, one at a time, mixing well after each addition. Blend in chocolate pieces and vanilla; pour over crust. Bake at 450 for 10 minutes. Reduce oven temperature to 250 (leave oven door open a crack until temp. reaches 250. Continue baking 35 minutes. Loosen cake from rim of pan. Cool before removing rim of pan.
Chill.
Next week I should have more recipes to post…but for now I’m headed to KY and dreaming of cheesecake from home in NY 🙂 Miss you mom!!!
Posted in Family, Guest Posts, Life, Magical Magical Animal, Puppy, Southern Love, Yum
A few kitchen things!
May 25th, 2009 Posted 3:06 pm
Happy Memorial Day! We’ve spent the extra day getting some chores done and getting ready to make burgers and yam fries for dinner! Plus, I’m getting my hair chopped off in a couple hours! I don’t have a plan and am trying a new stylist, so hopefully all goes well! Cross your fingers for me 🙂
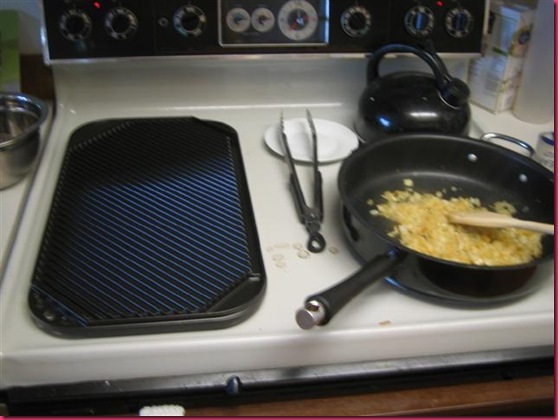
Check out our new grill for the stovetop! I am really excited about this thing! The other side has a flat griddle, which will be wonderful for PANCAKES!
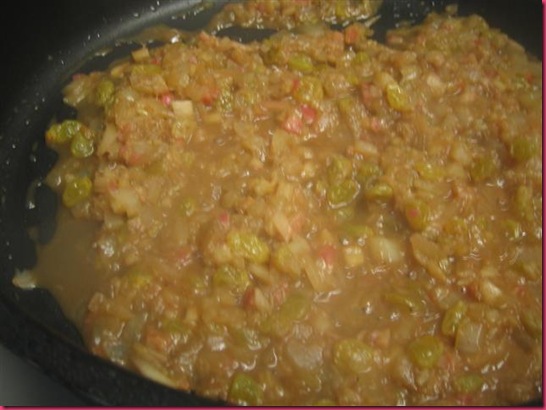
In the pan next to the grill, there are some onions cooking down for a really fun and delicious new sauce. We had rhubarb in our CSA box this past week and I have never cooked with it, so I wanted to do something other than just Strawberry Rhubarb pie. I found this recipe from Gourmet magazine that used golden raisins, onions and rhubarb to make a chutney to go along with some pork. This turned out really great! I got distracted and forgot to get a picture of the final product, but here’s the chutney as it cooks down:
It worked really well with the pork, and we served it with some parmesan toast and some grilled asparagus (way to go grill pan!!) Also check out my meat thermometer at work…
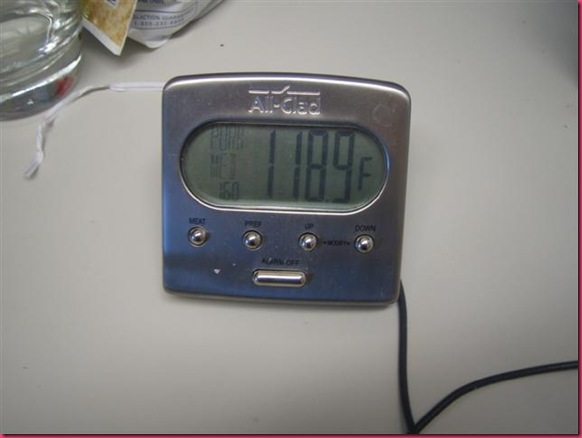 the pork was cooked perfectly!! I cooked it to 160 degrees, the setting for Pork-Medium. Then let it rest, wrapped in some foil and it came up to a perfectly moist, thick-cut pork chop. Yum!
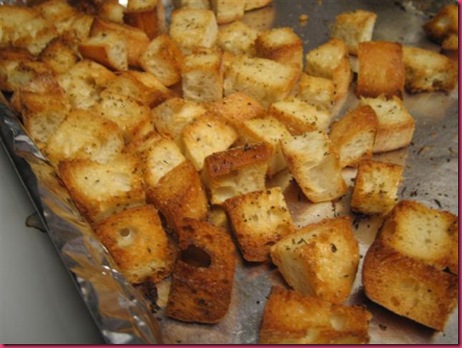
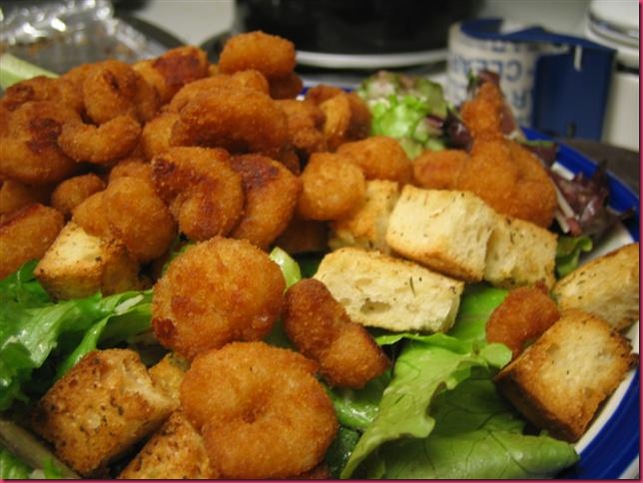
Earlier in the week, we used up some ciabatta rolls and made italian garlic croutons to go on a salad with: lettuce mix from Full Circle Farm, frozen popcorn shrimp, random veggies and a parmesan dressing. A very satisfying and light-ish dinner (the popcorn shrimp was not the healthiest thing we could have chosen, but it hit the spot and is exactly what we were craving!). The croutons are super easy…tossed in a little olive oil, salt, pepper, garlic powder, onion powder and italian seasoning. Baked in a low oven. The ciabbata bread got nice and crispy on the outside, but kept a tiny bit of chewiness inside. I almost lost track of them, but managed to pull them out just in time to avoid burning the edges!
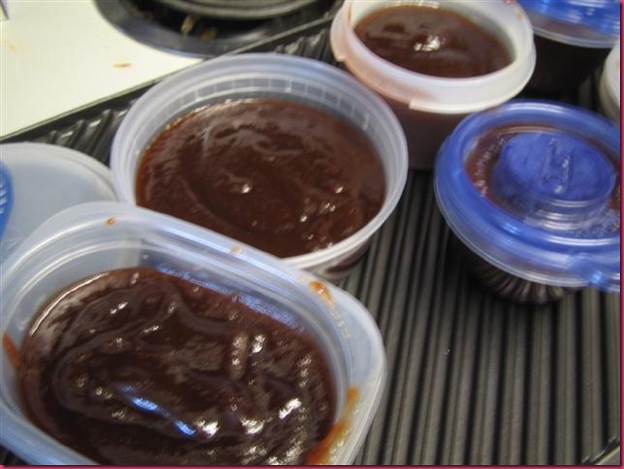
As promised, I tried out my mom’s Crockpot apple butter. Well, it comes from a local newspaper at home, but it was easy and I am excited to try it on some toast!
Slow-Cooker Apple Butter
- 5-6 pounds apples – peeled, cored and chopped
- 4 cups sugar
- 4tsp cinnamon
- 1/4tsp each ground cloves, salt and ground nutmet
- Mix everything together in a large bowl and add to the crockpot. You should use enough apples to have your Crockpot heaping full.
- Cover and cook on high for 1 hour.
- Reduce to low heat and slow-cook for at least 9 hours. (I planned this poorly and woke up at 4am to turn it onto “warm†so it wouldn’t burn while I finished sleeping).
- Remove lid and continue to slow cook until thick and brown with no liquid left.
- Even though the recipe doesn’t call for this, I wanted smooooth apple butter, so a little before there was no liquid left I pureed it with my amazing stick blender and then let it bubble away for a little longer.
- Fill containers. The recipe says you should use sterile jars and boil them in a hot water bath to seal. Neither my mom or I did this. A) I don’t have the equipment. B) I don’t have the patience.
- The butter will thicken a bit when it cools. I put one container in the fridge and the rest in the freezer. It made about 7 small containers of apple butter. And it is GORGEOUS.
This is what the apples looked like after I woke up in the morning:
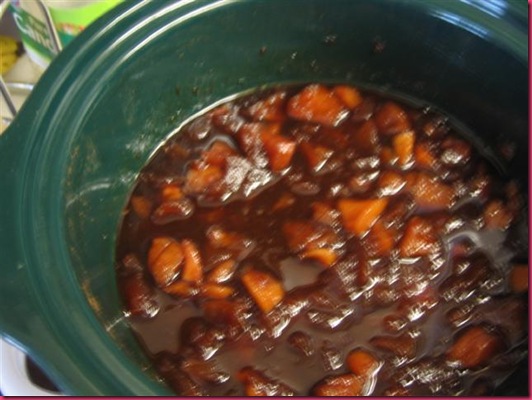
Use this apple butter in things like my mom’s pork dinner.
Posted in Family, Fun, Leftovers, Magical Magical Animal, Yum

